


 Installing a new shower might seem like a daunting task, but with the right preparation, tools, and guidance, it’s a task that many handy homeowners can tackle. Whether you're upgrading an old shower or adding a new one to your bathroom, this guide will walk you through the entire process from start to finish.
By following these step-by-step instructions, you’ll not only save on installation costs, but you’ll also enjoy the satisfaction of knowing you did it yourself. Plus, we’ve included links to high-quality products from Amazing Bathroom Supplies and highlighted reliable options from our trusted supplier QX.
Tools and Materials You’ll Need
Before you start, gather all necessary tools and materials. This will make the process smoother and ensure you have everything on hand. Here’s what you’ll need:
Tools:
- Drill
- diamond or progressor whole saw bit
- Screwdriver set
- Adjustable wrench
- Spirit level
- Silicone sealant gun
- Utility knife
- Pipe cutter
- Tile cutter (if using tiles)
Materials:
- Shower unit
- Shower tray (if applicable)
- Wall panels or tiles
- Plumbing connectors and pipes
- Waterproof adhesive
- Silicone sealant
- Rawl plugs
Use your trusted building supplies merchant or DIY store. Search for your local merchant
Step 1: Prepare the Space
Proper preparation is key to a successful shower installation.
- Turn Off the Water: Locate your mains water supply and switch it off before you start. This prevents leaks during installation.
- Remove Existing Fixtures: If replacing an existing shower, carefully remove the old shower unit, tray, and any associated fittings.
- Examine the Plumbing: Check the condition and layout of the plumbing. If adjustments are needed, ensure you're using lengths of durable and trusted piping, available at your local merchant.
- Measure the Space: Measure the area to confirm the fit of your new shower. Double-check dimensions provided by your shower manufacturer, especially if you're installing a QX model.
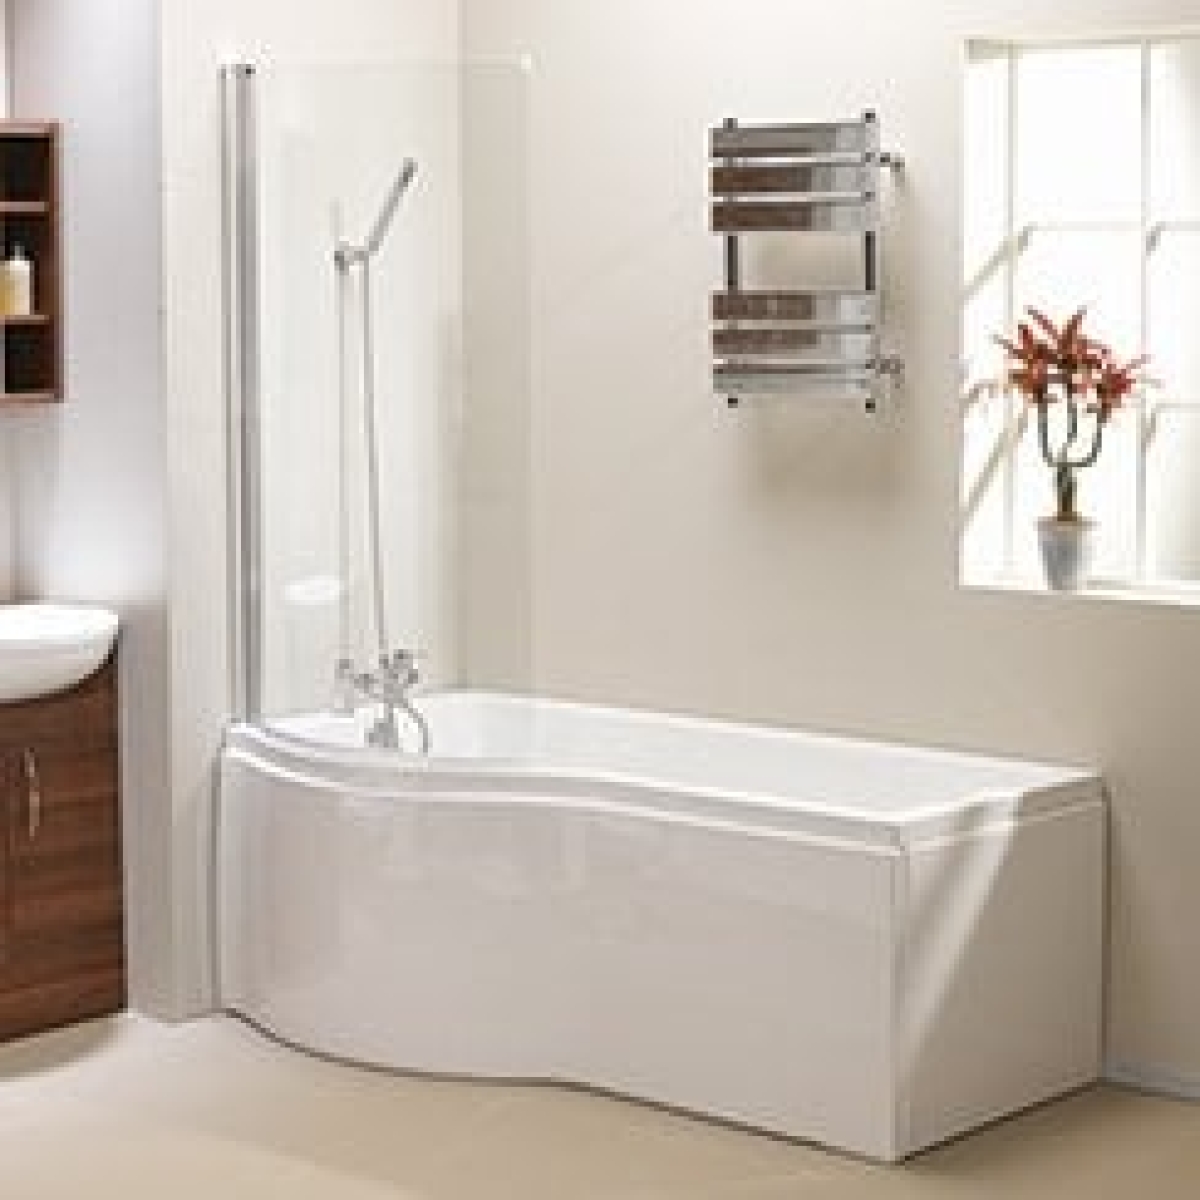
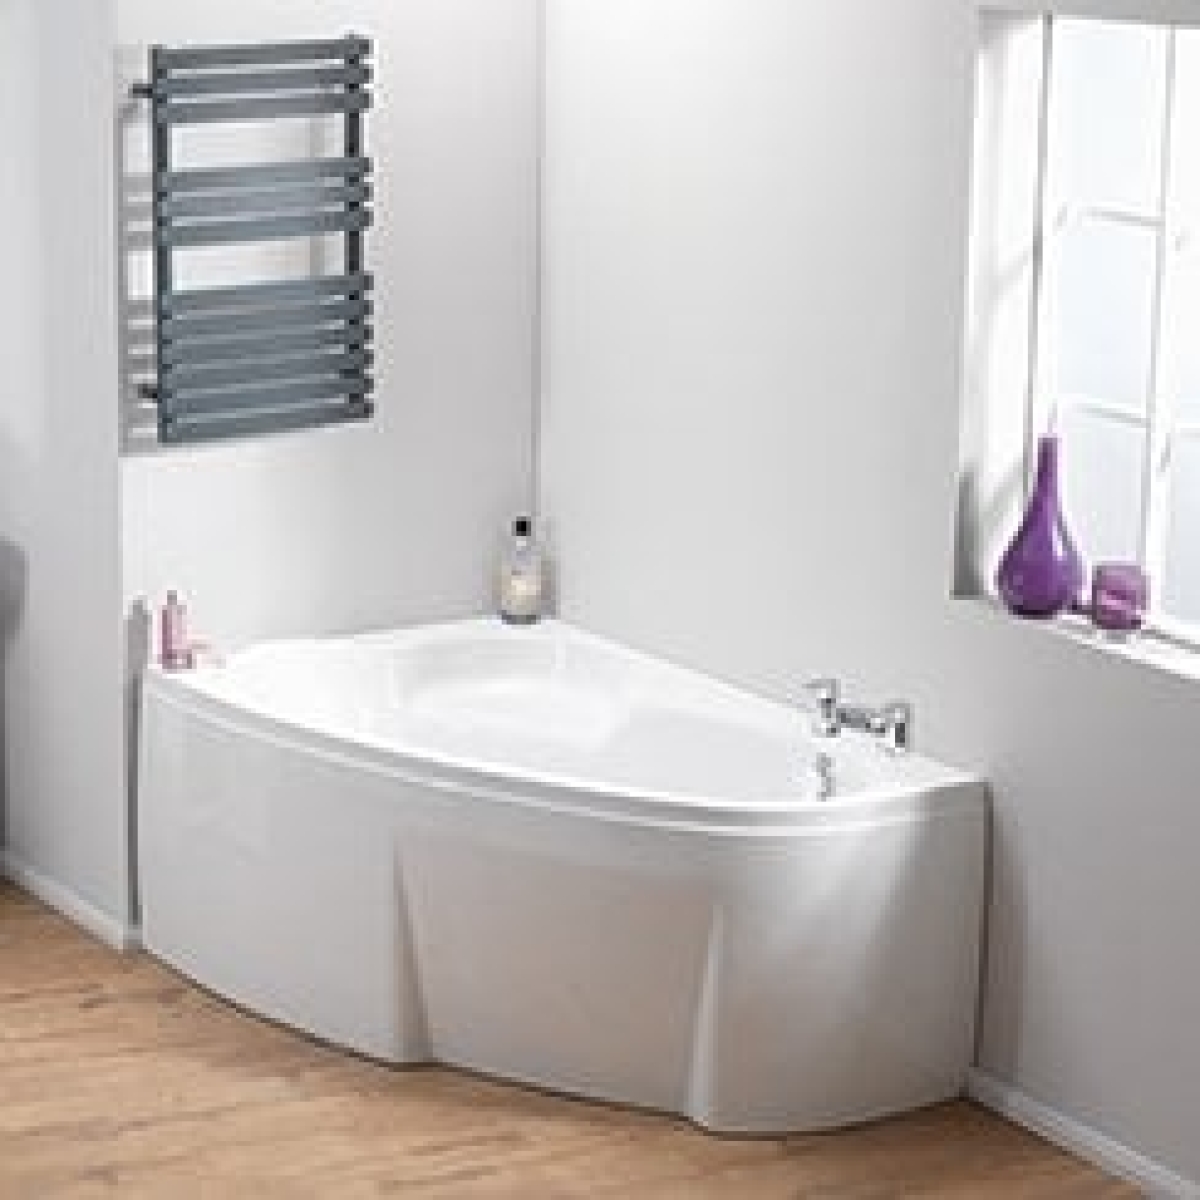
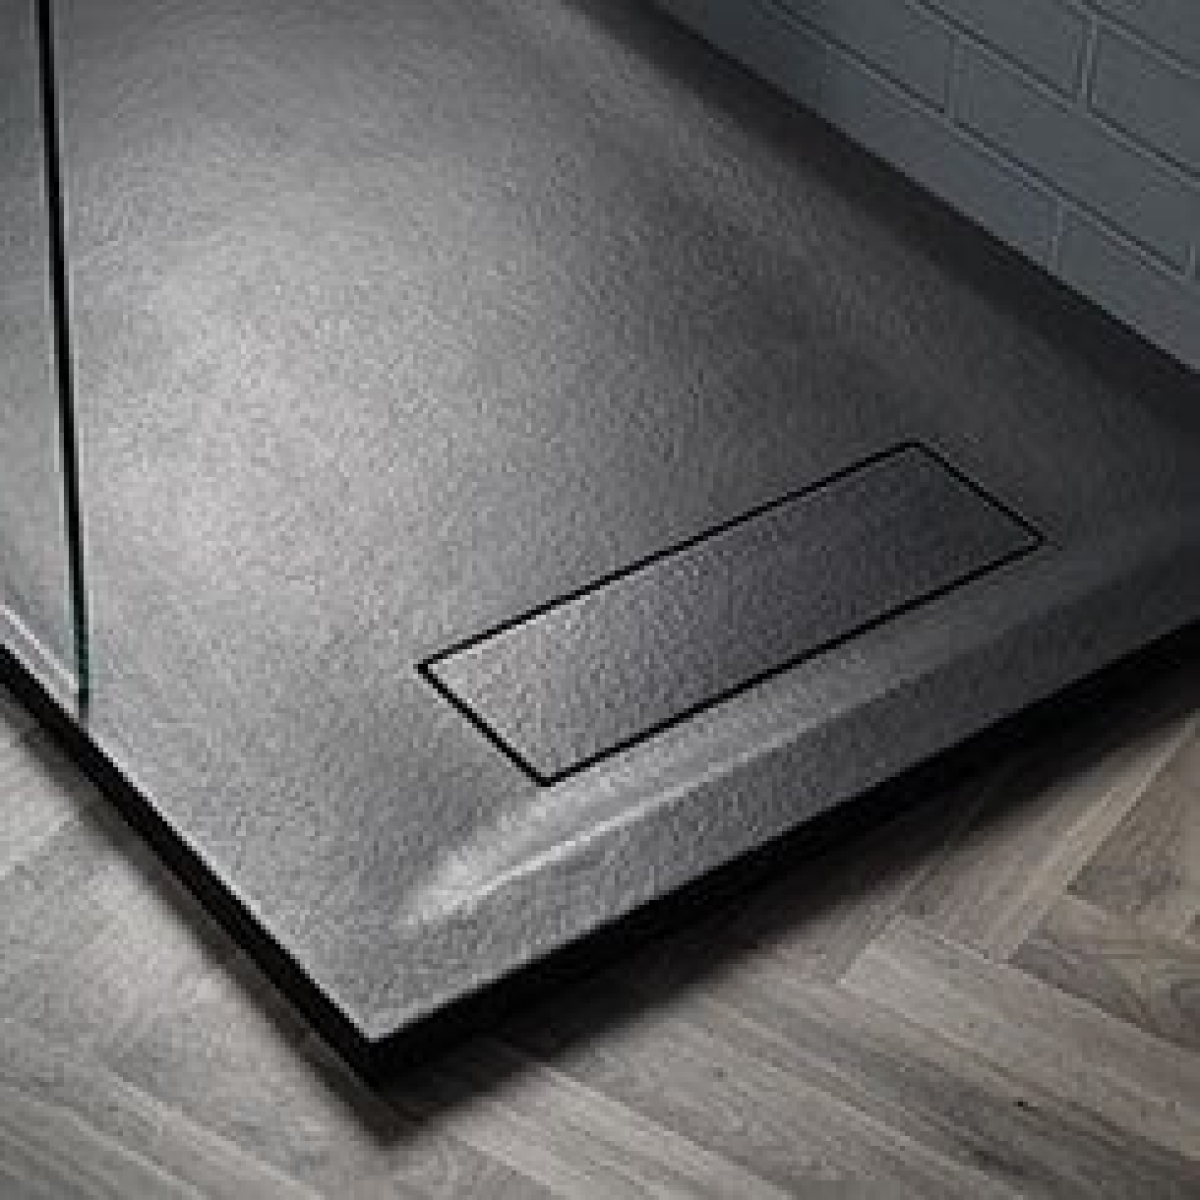
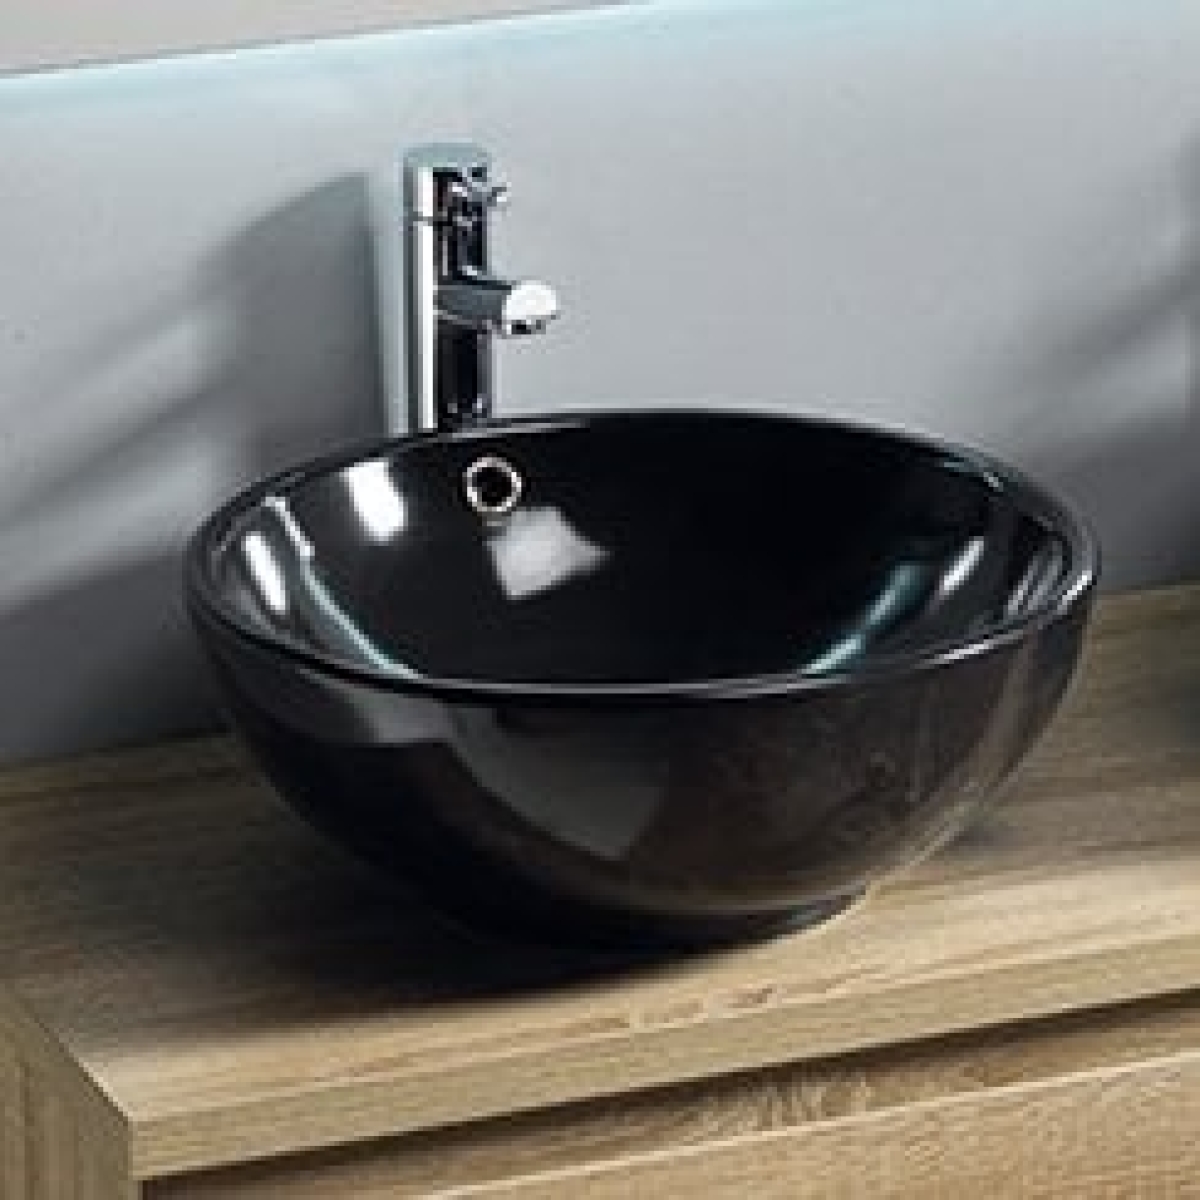
Step 2: Install the Shower Tray
The shower tray is the foundation of your unit, so it must be installed correctly.
- Position the Tray: Place the shower tray in the intended location and use a spirit level to check it’s even.
- Secure the Tray: If the tray is uneven, adjust by adding shims or leveling supports. Once satisfied, secure the tray in place using strong waterproof adhesive.
- Seal the Edges: Apply a bead of silicone sealant around the edges to create a watertight seal. Ensure you allow the sealant sufficient time to cure before proceeding.
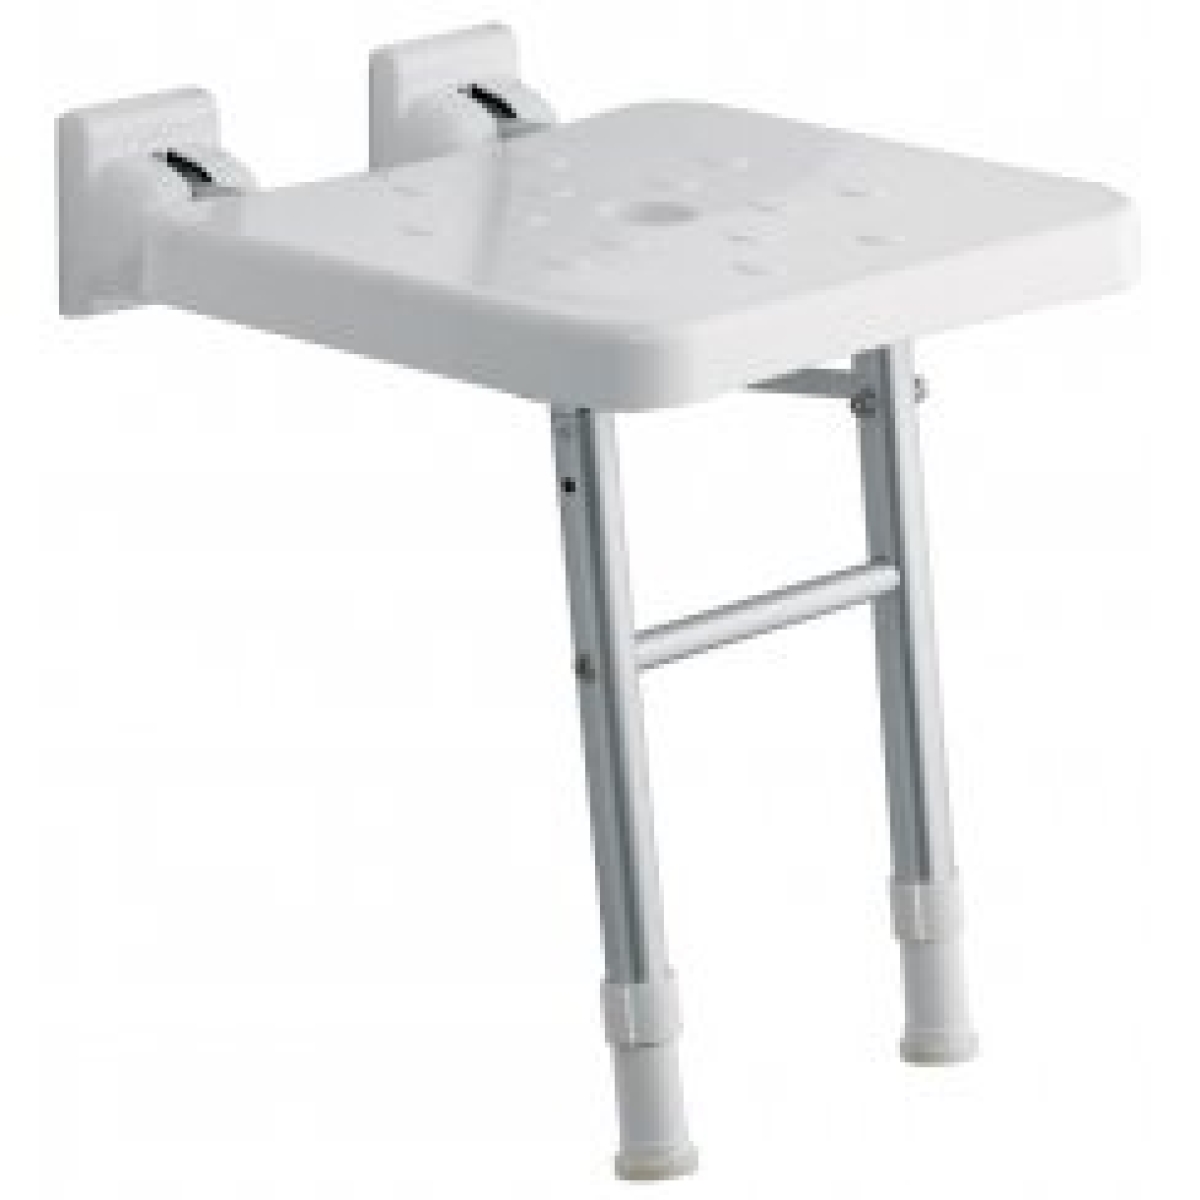
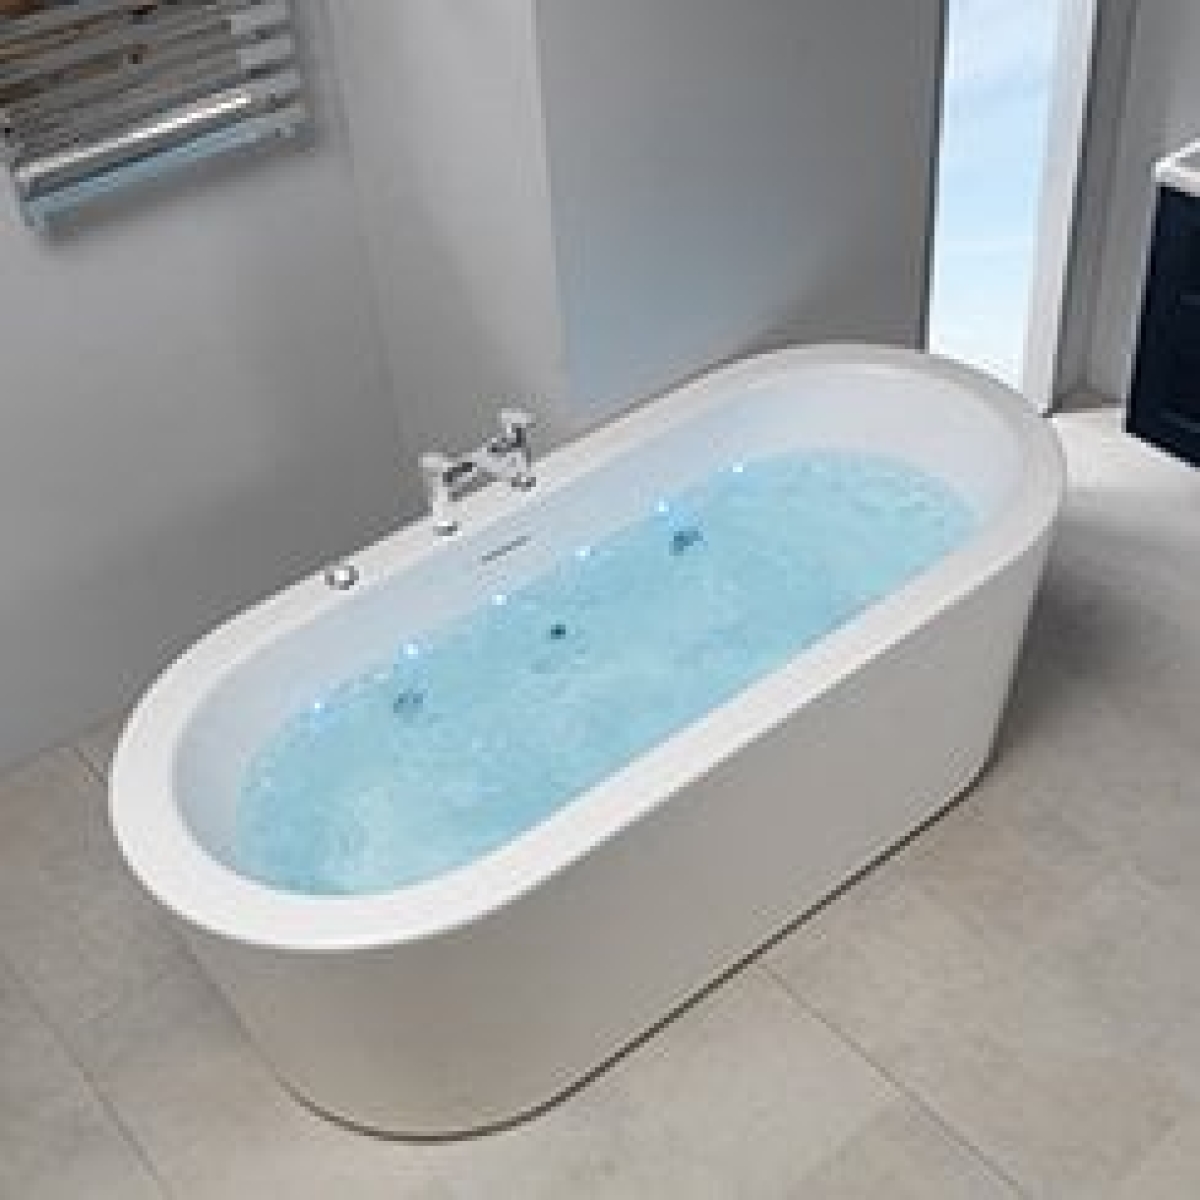
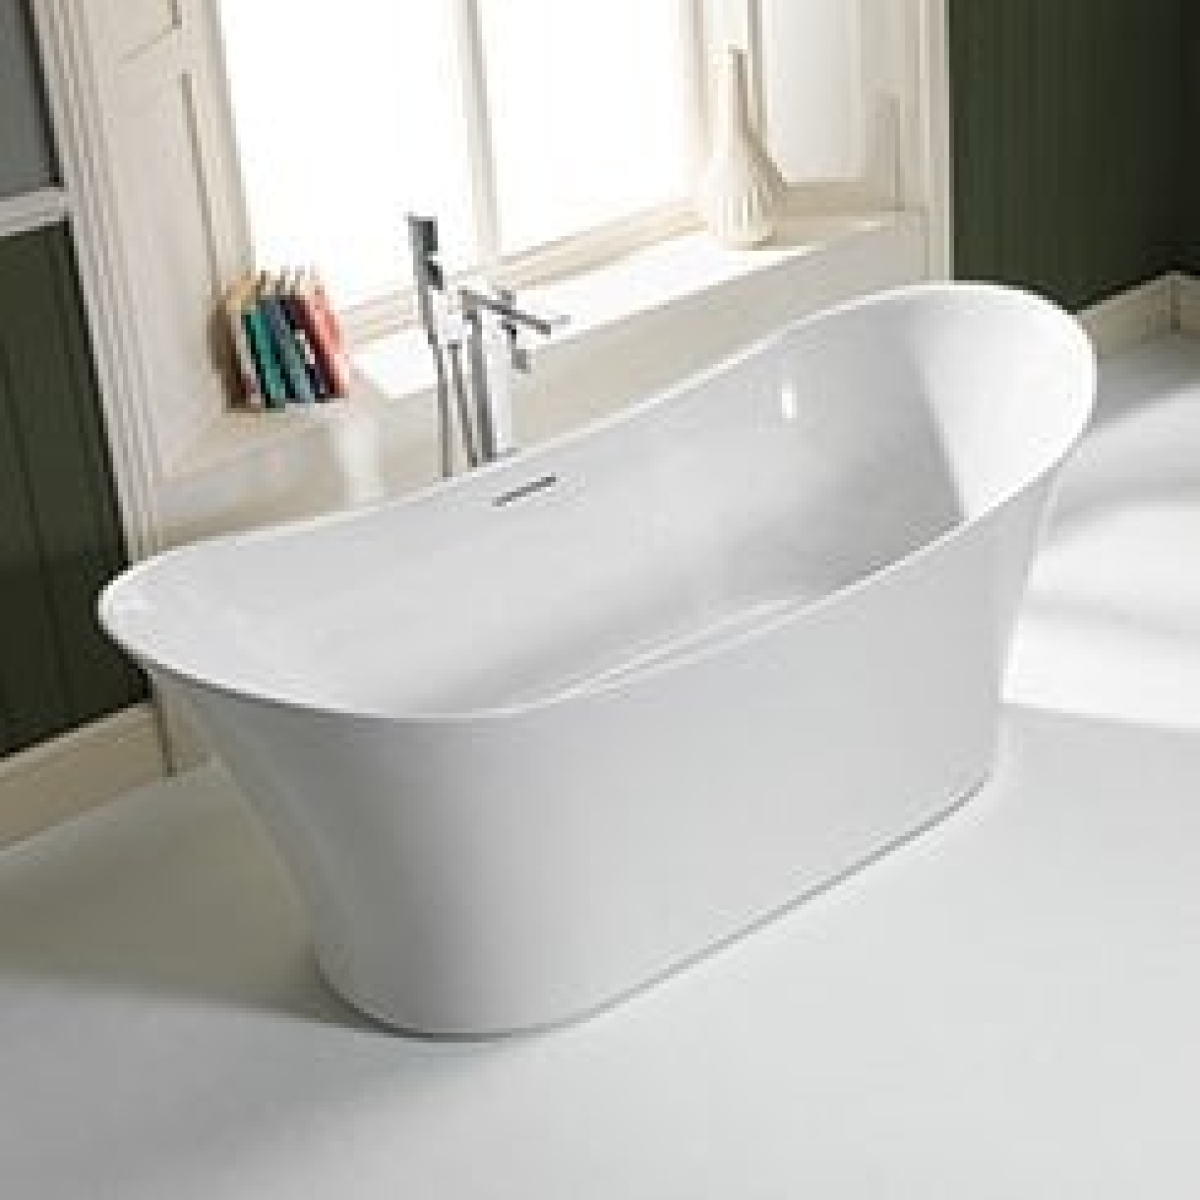
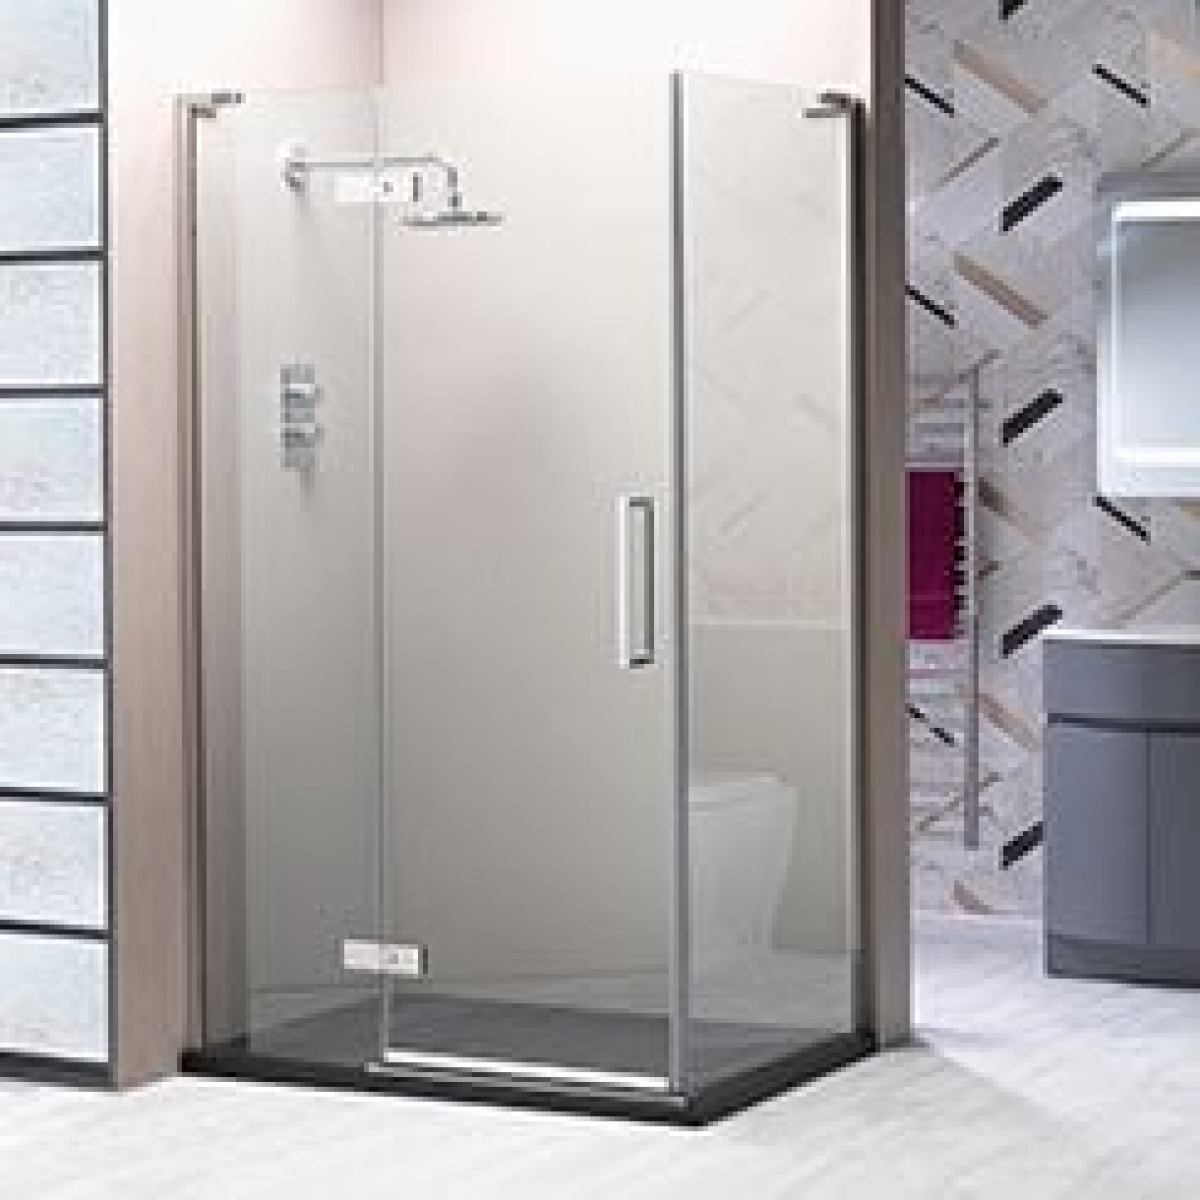
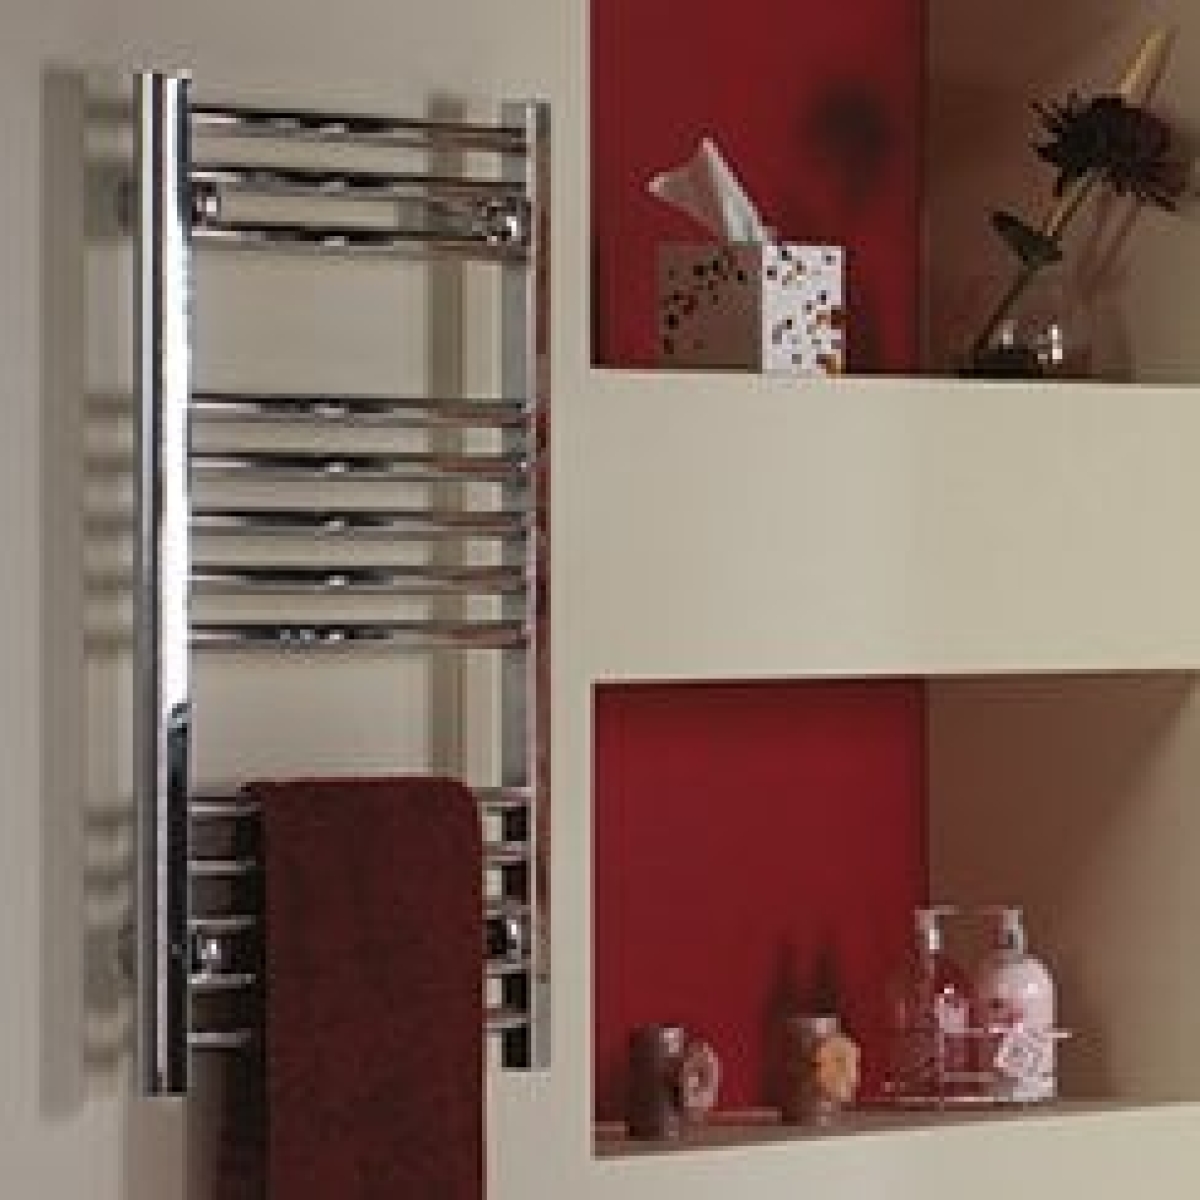
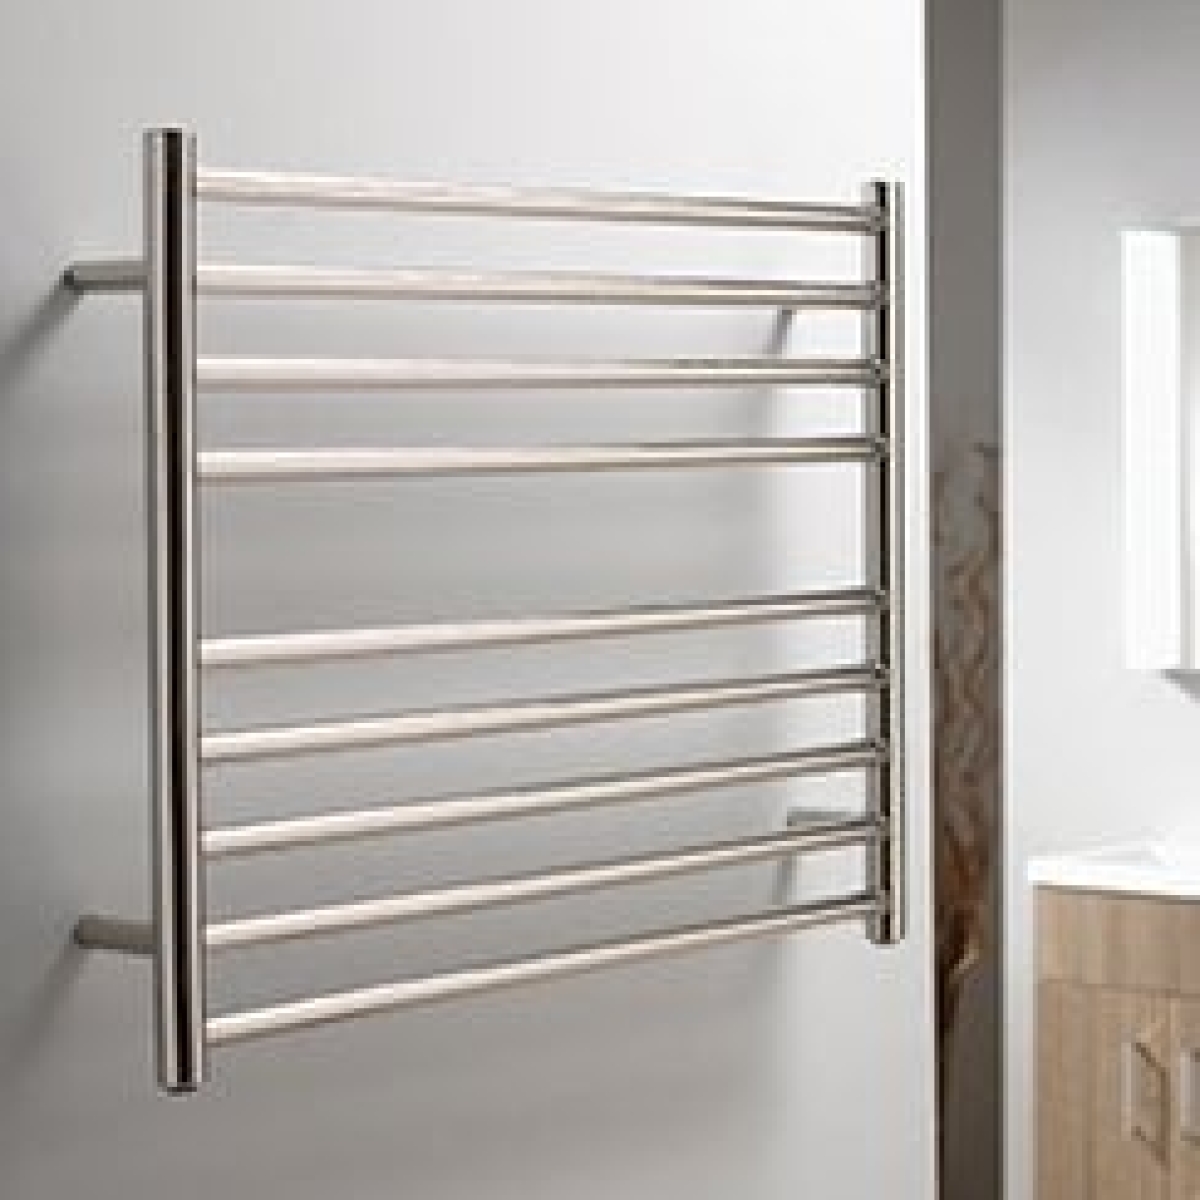
For shower trays that combine durability with sleek design, check out the suites section at Amazing Bathroom Supplies or browse the elegant options from QX's shower range.
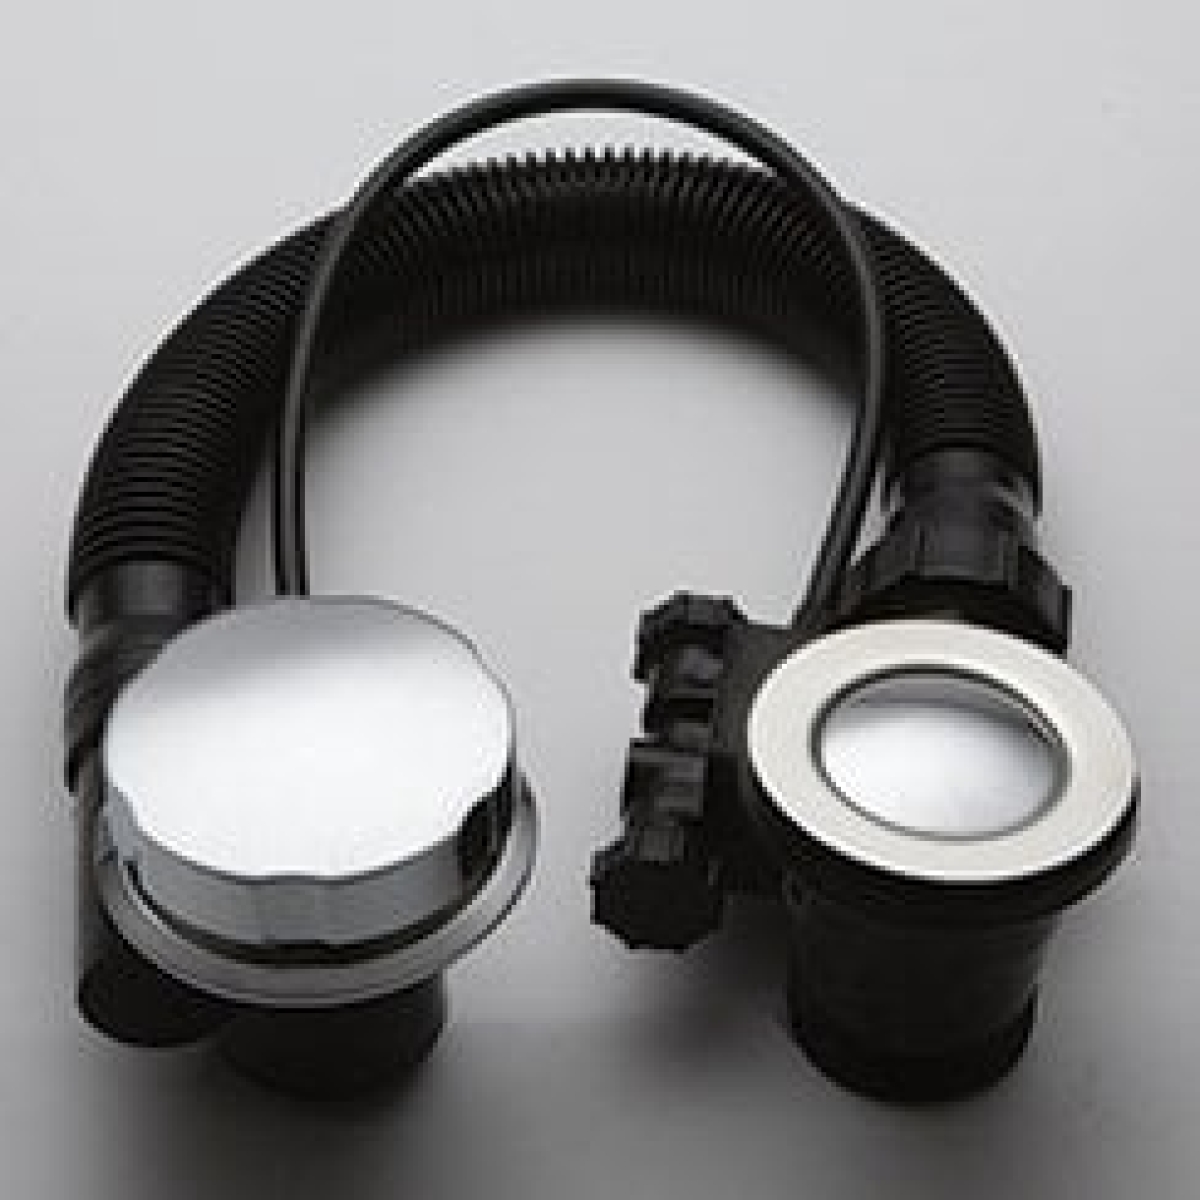
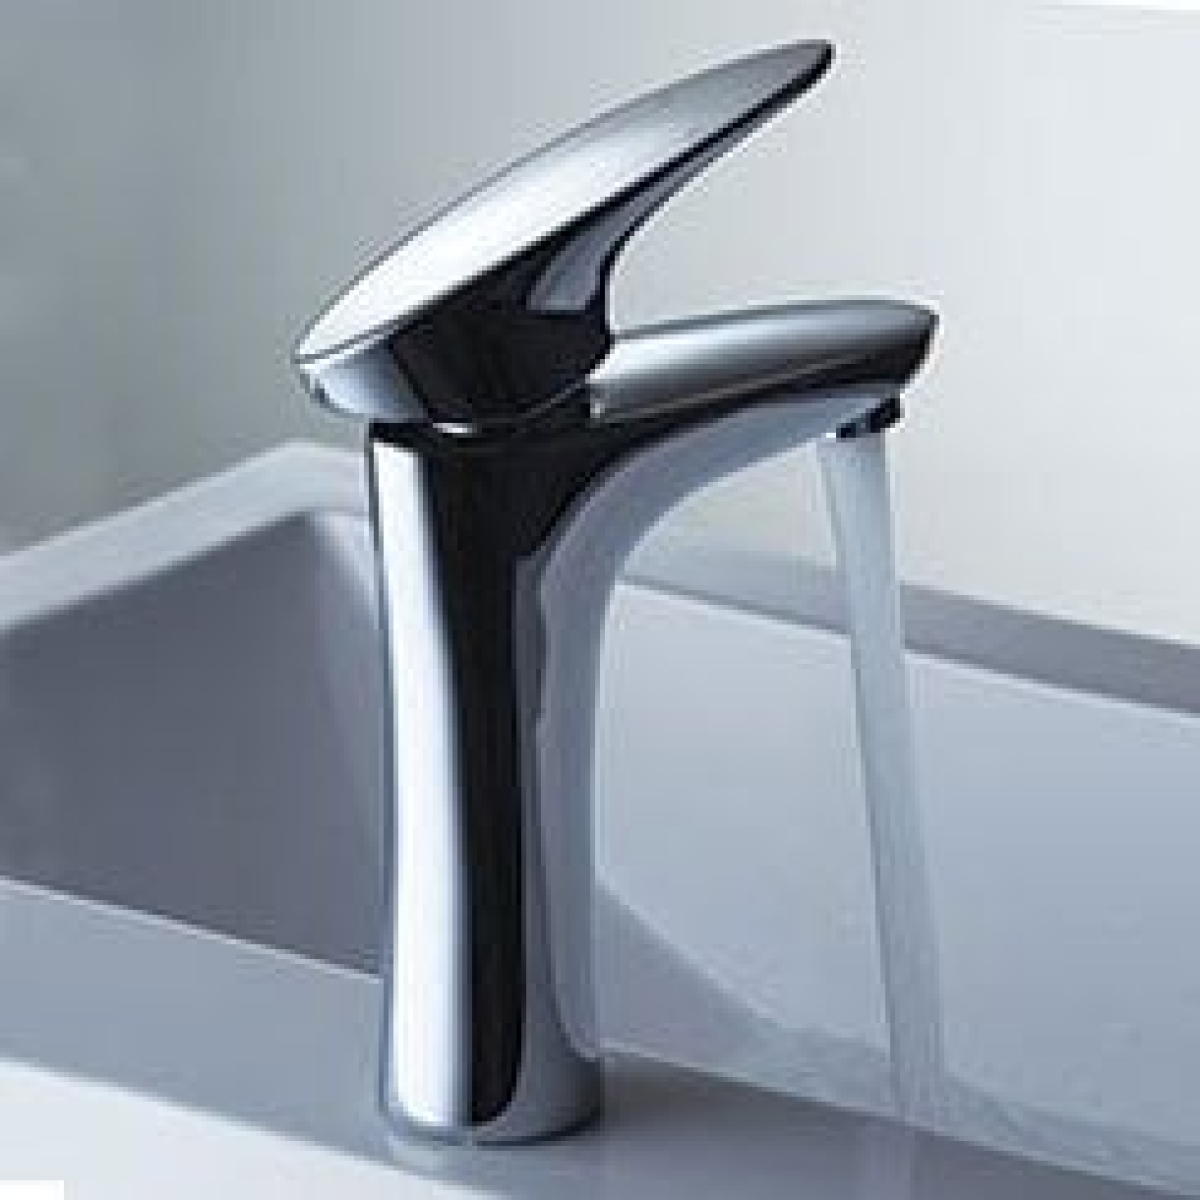
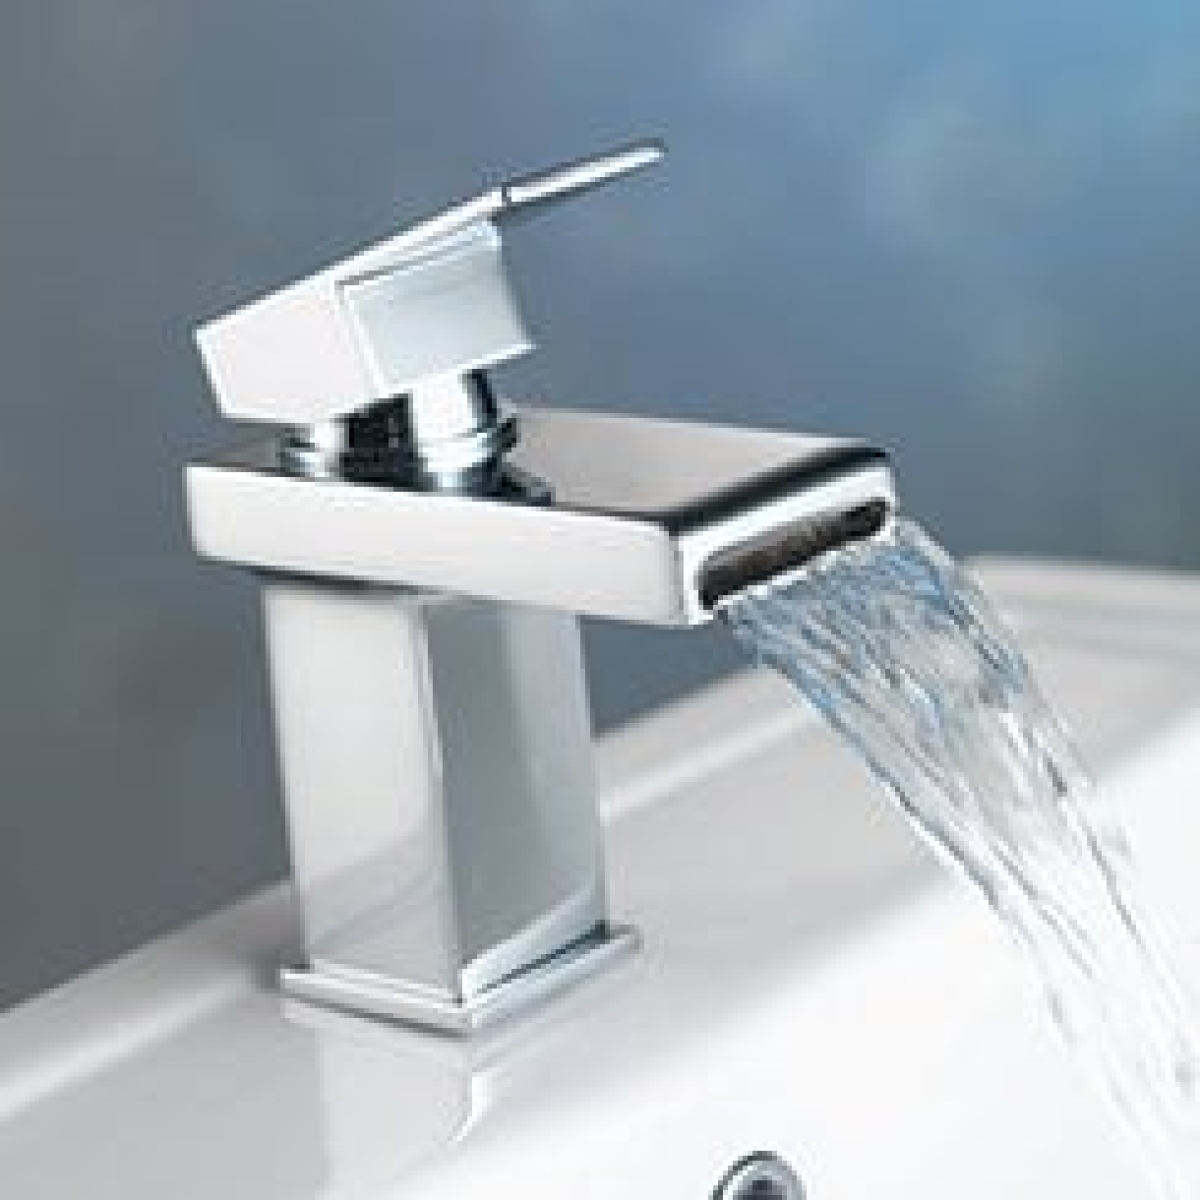
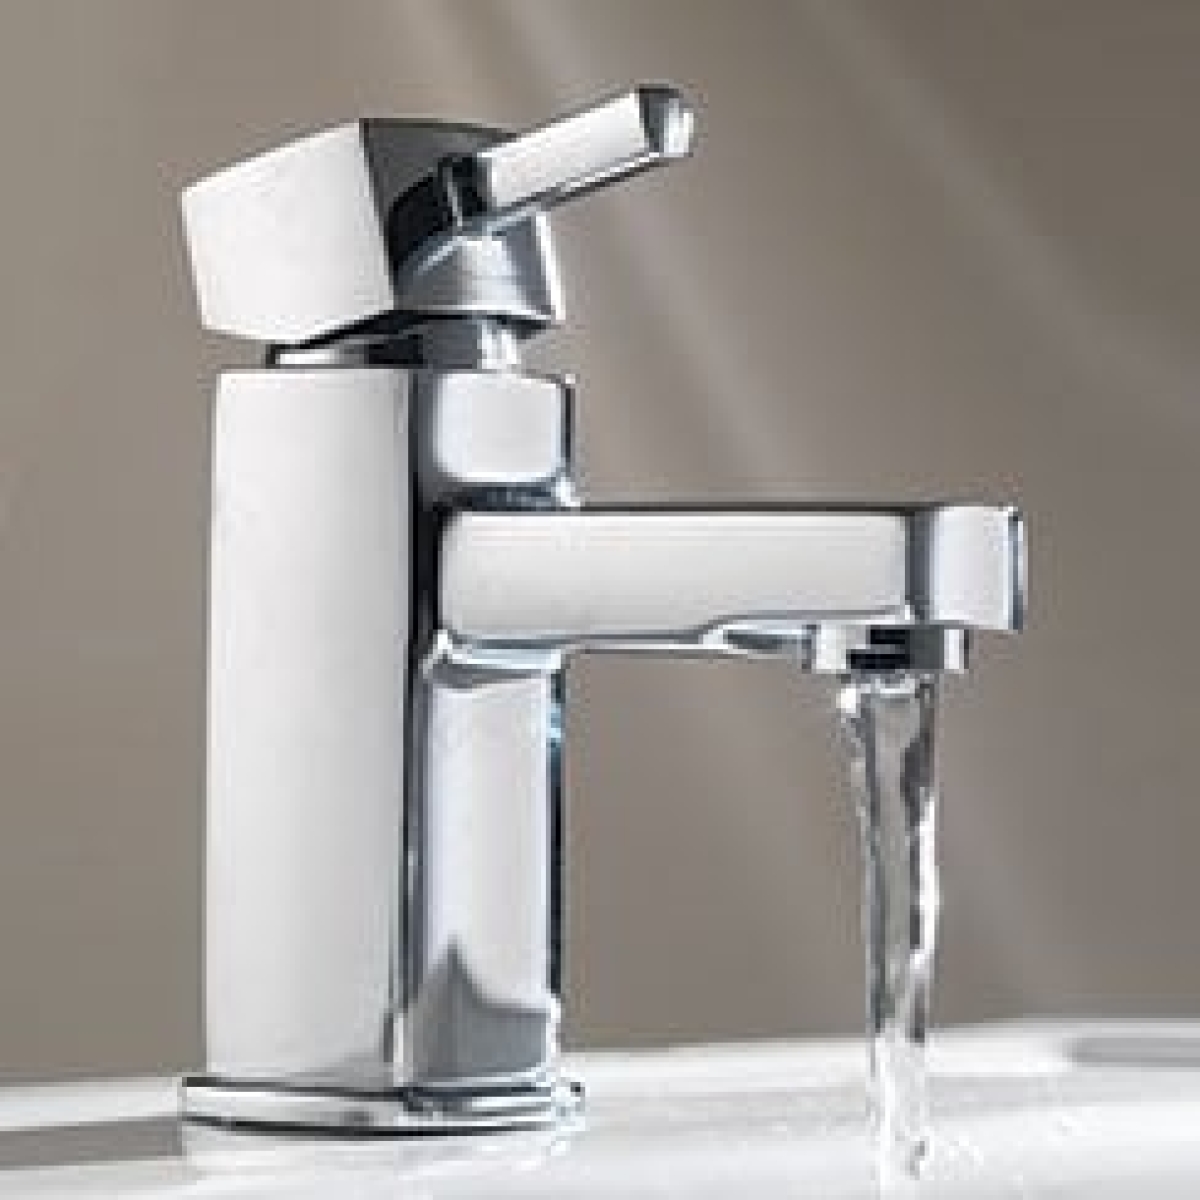
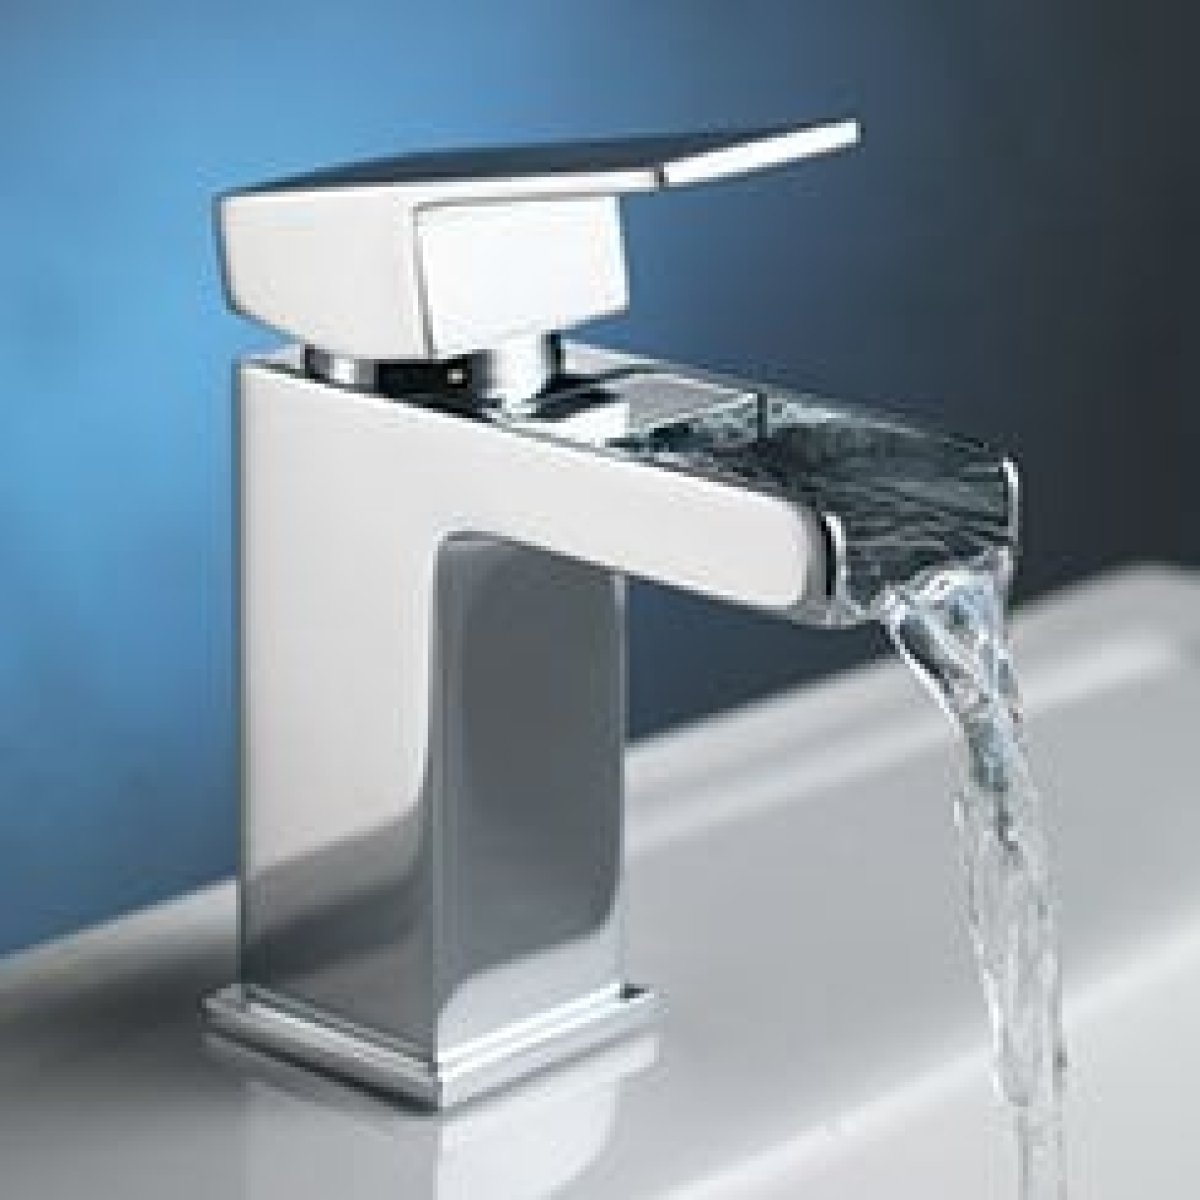
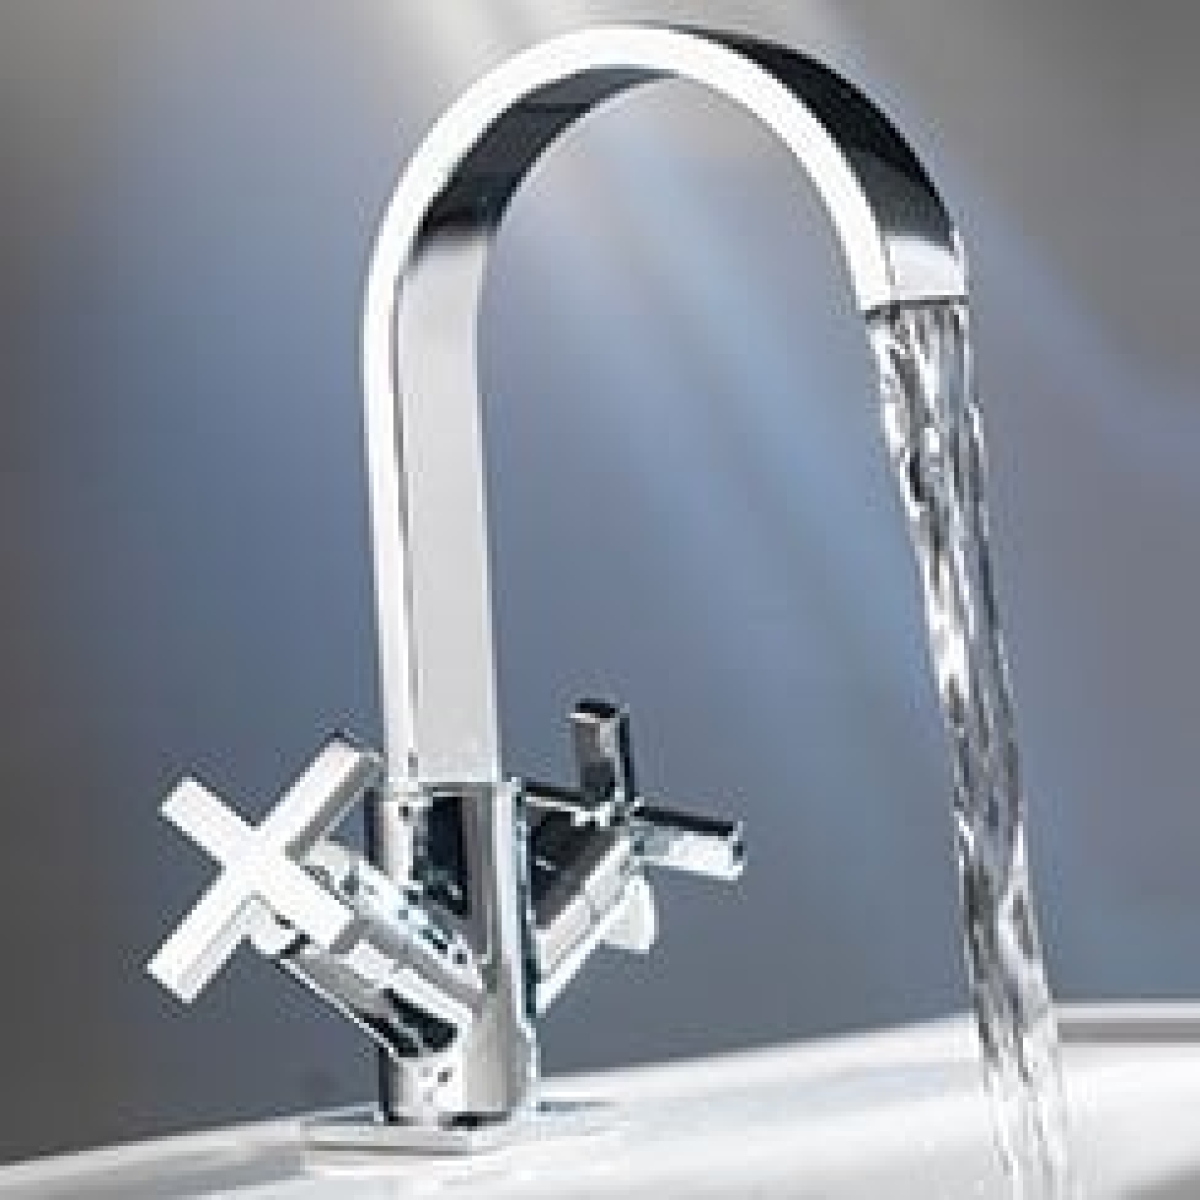
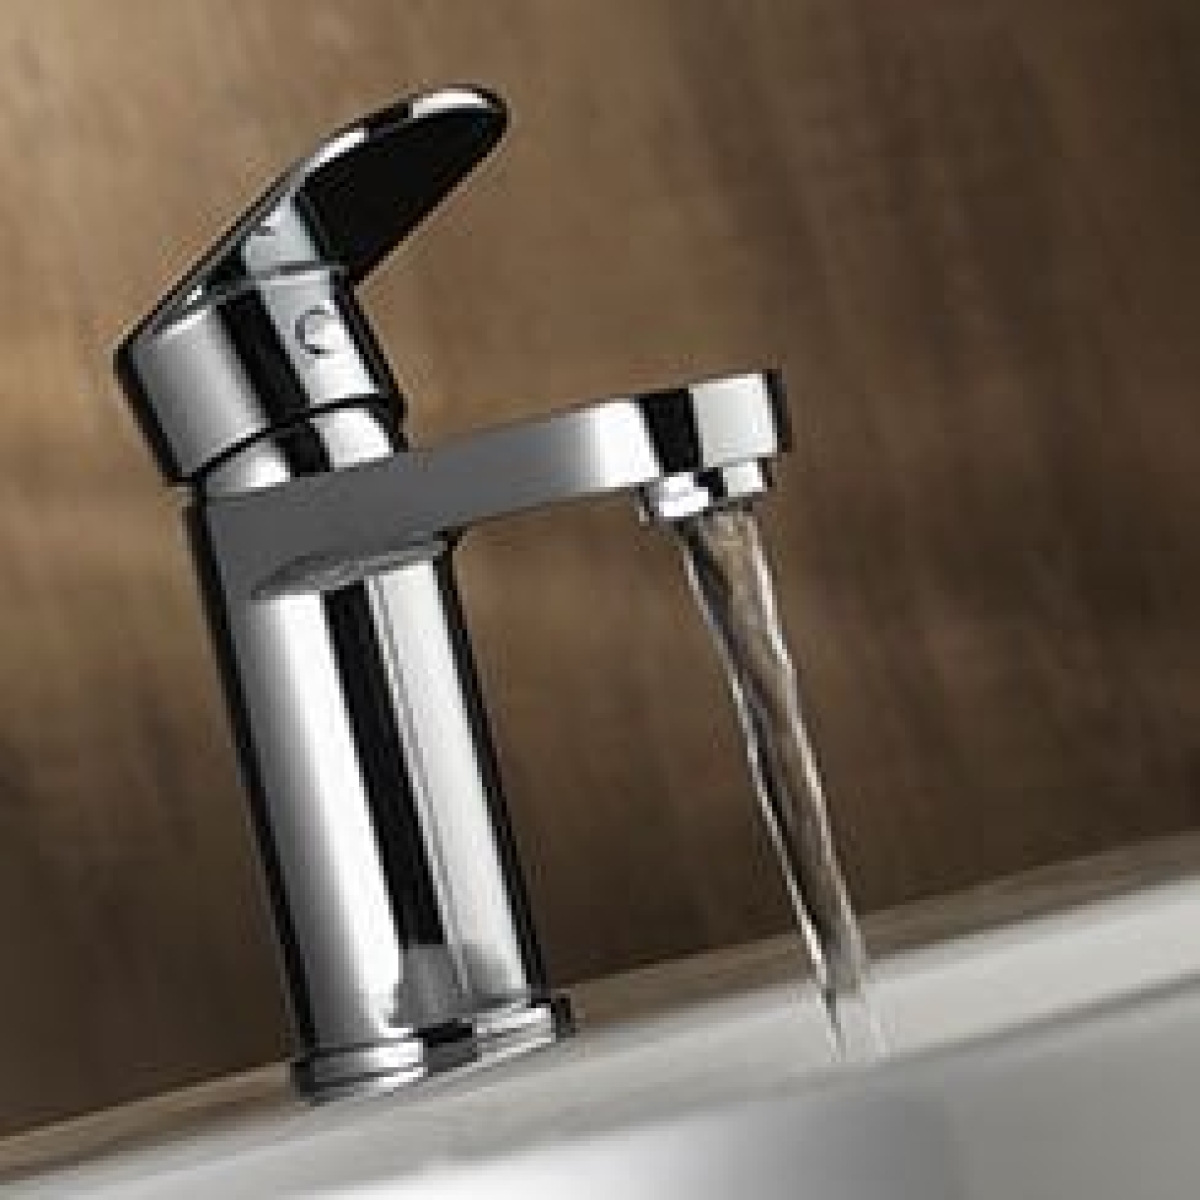
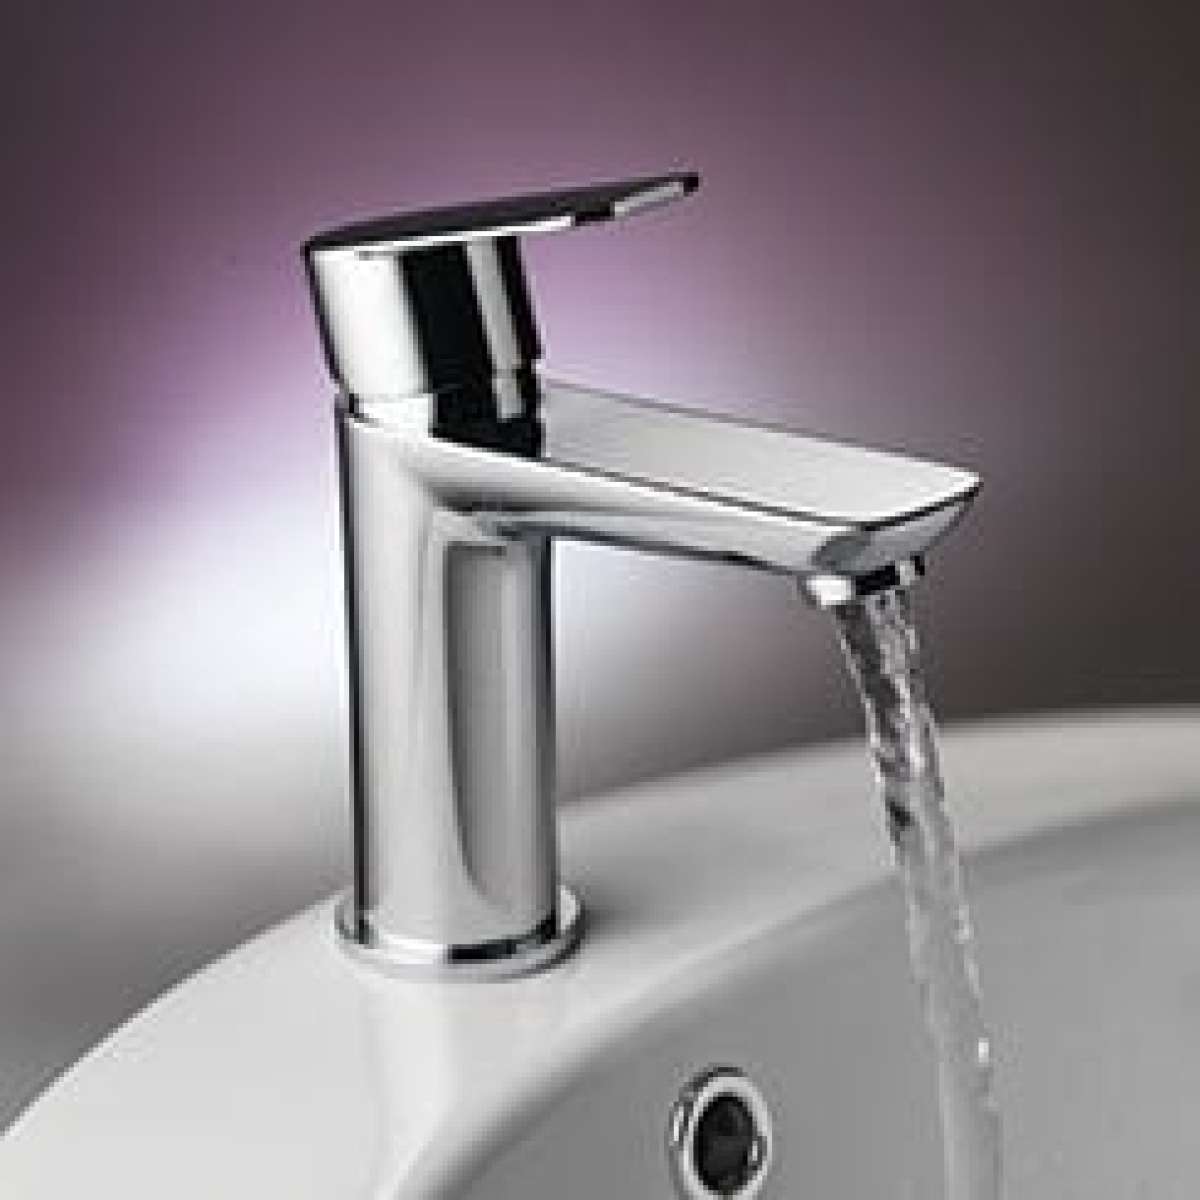
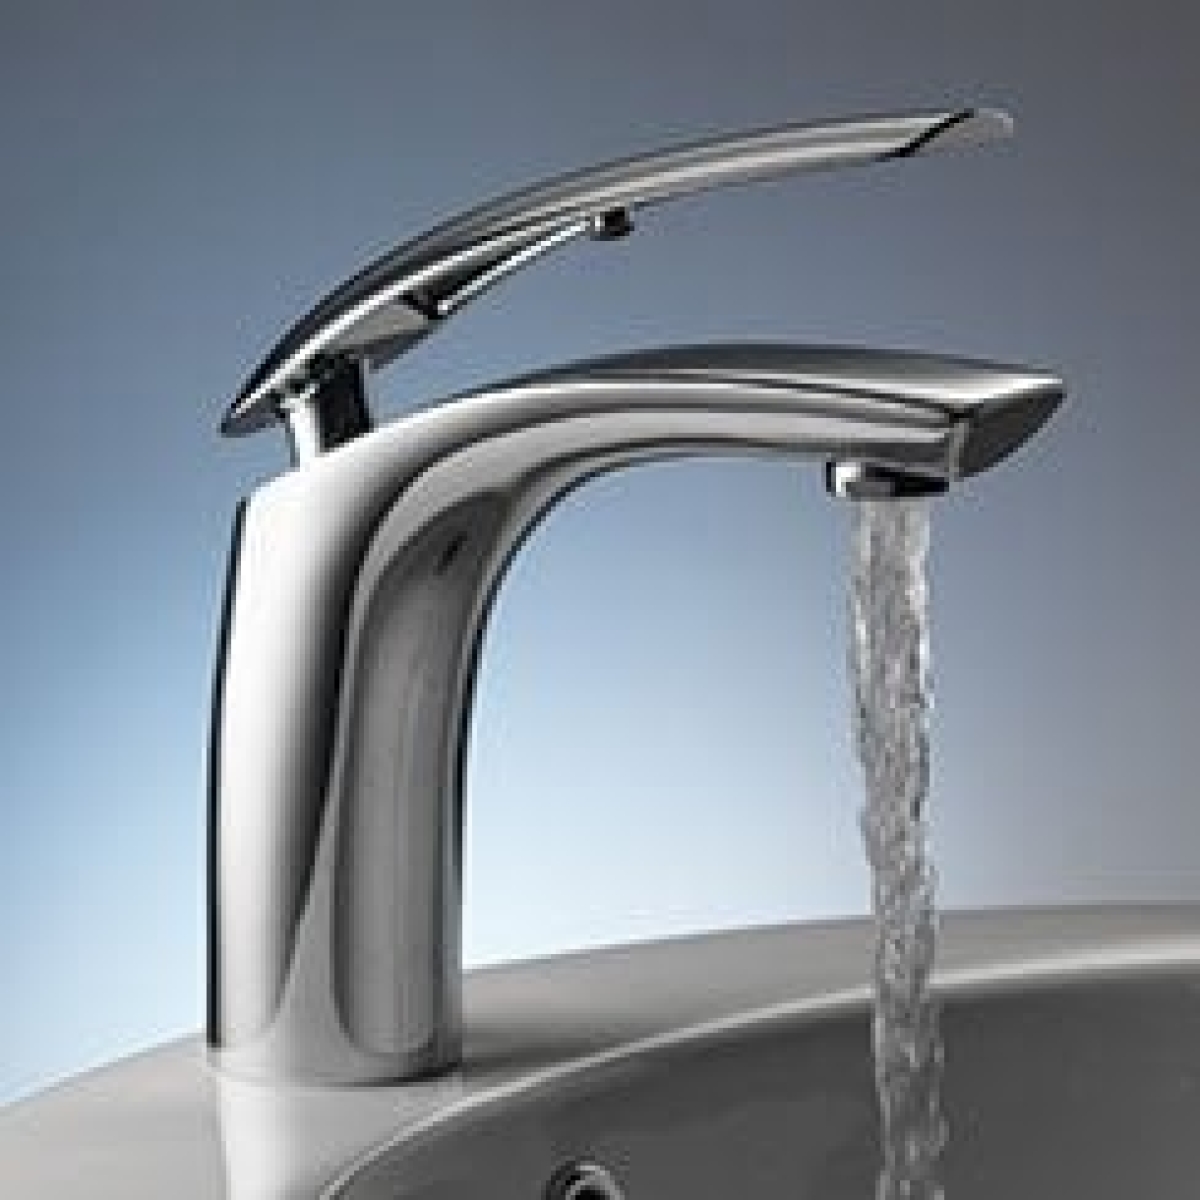
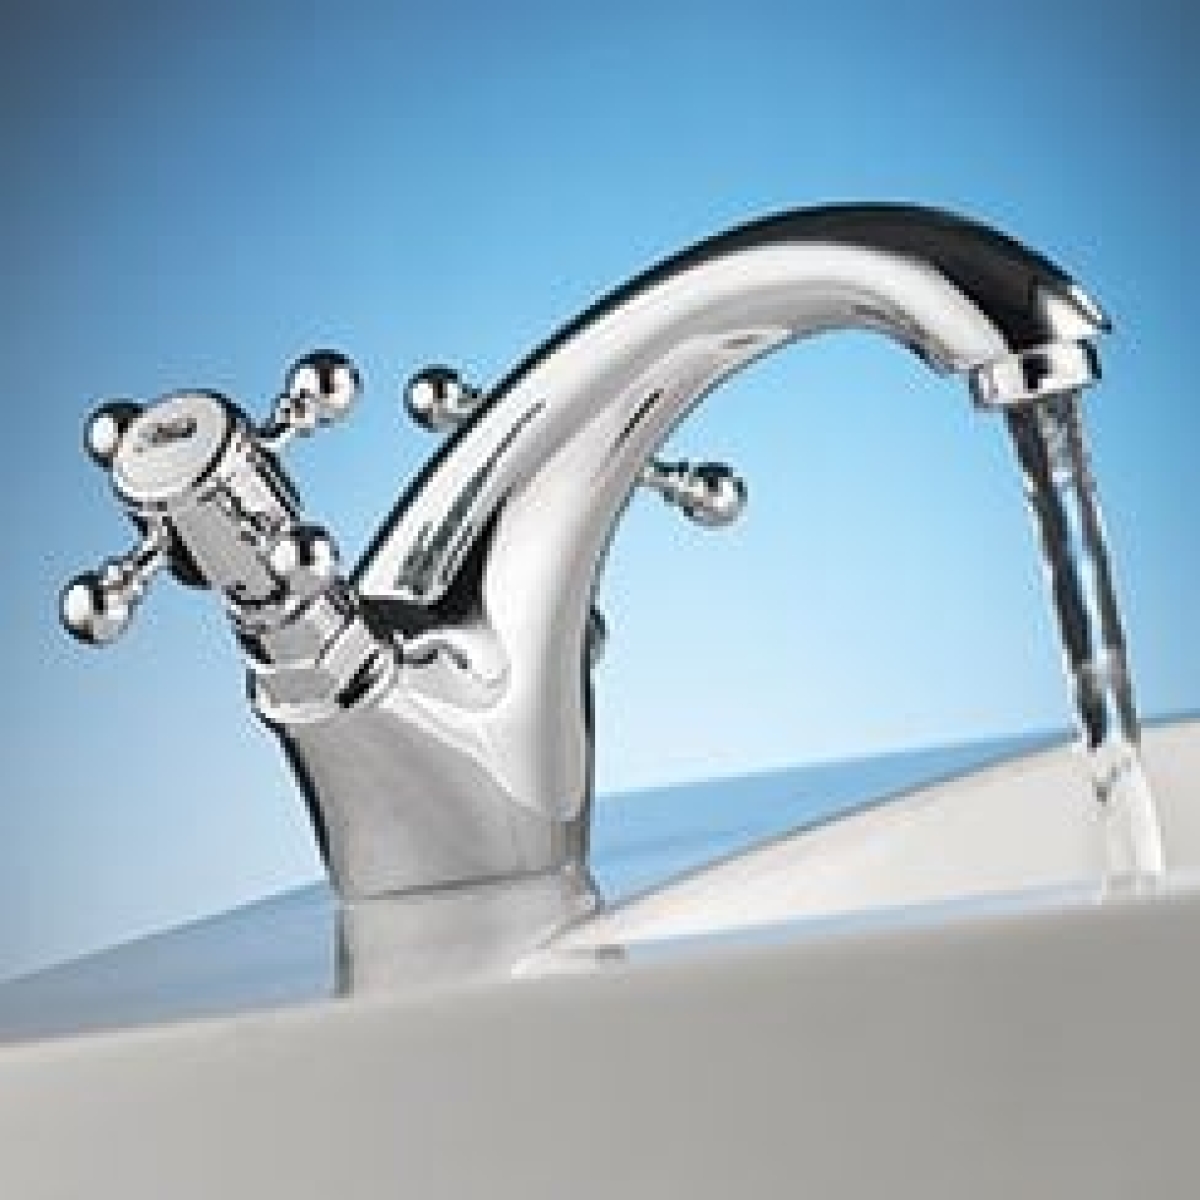
Step 3: Fit the Shower Valves and Pipes
The plumbing stage can require patience but is crucial to the functionality of your shower.
- Mark the Pipe Locations: Using the manufacturer's guide, mark the exact locations for drilling.
- Connect the Pipes: Carefully run hot and cold-water pipes from your main source to the shower location. Use pipe connectors as needed.
- Install the Valve Unit: Fix the shower valve to the wall, making sure the connections align with the plumbing. A level and secure fit ensures easy operation later.
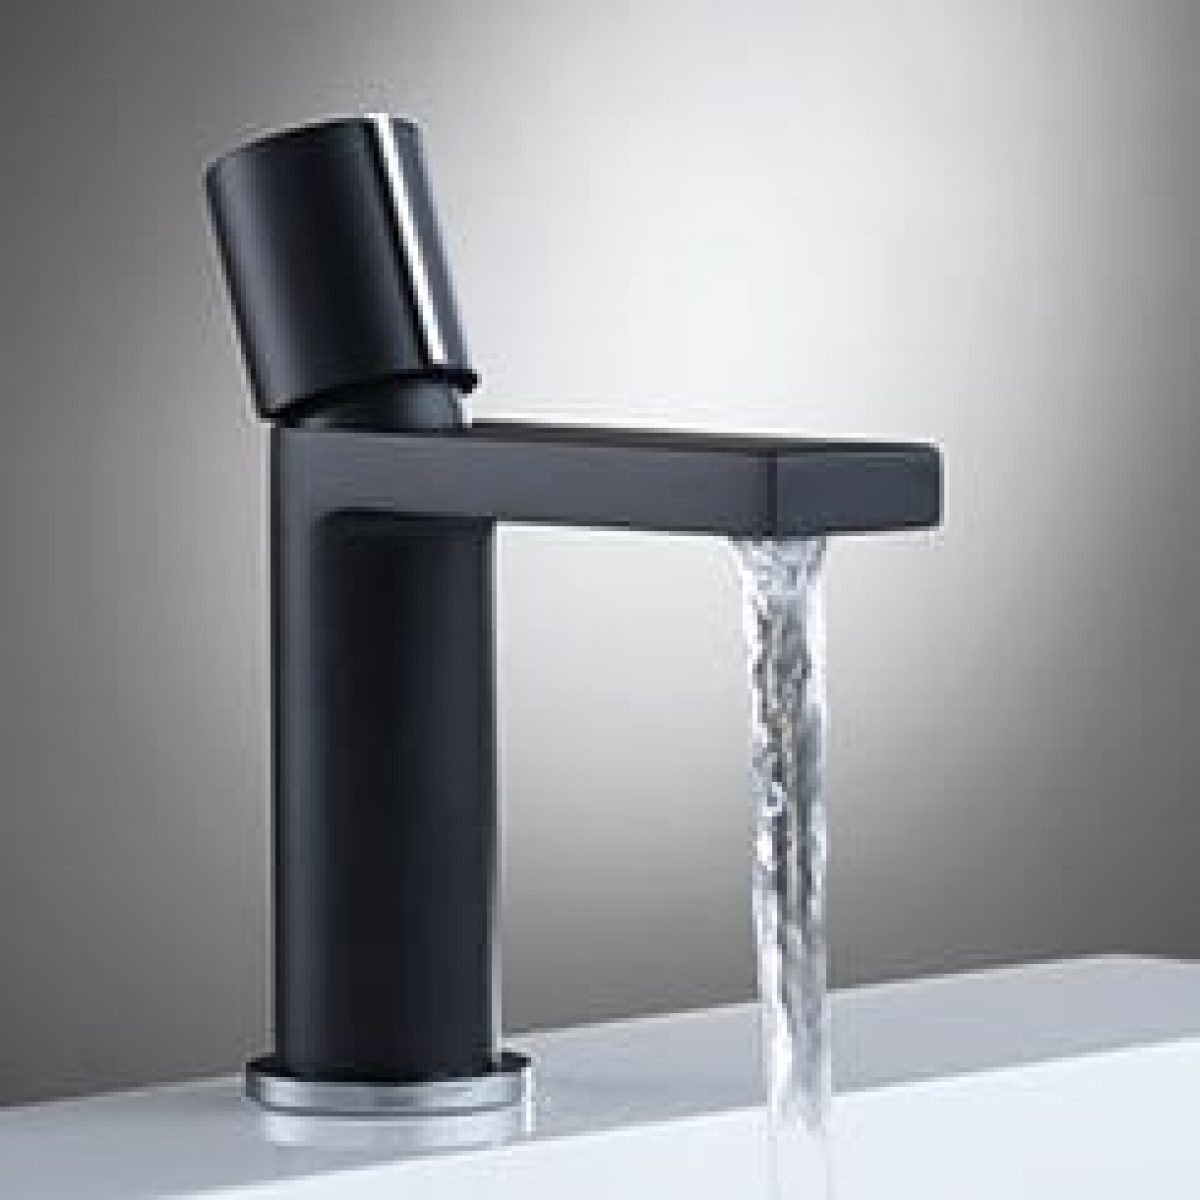
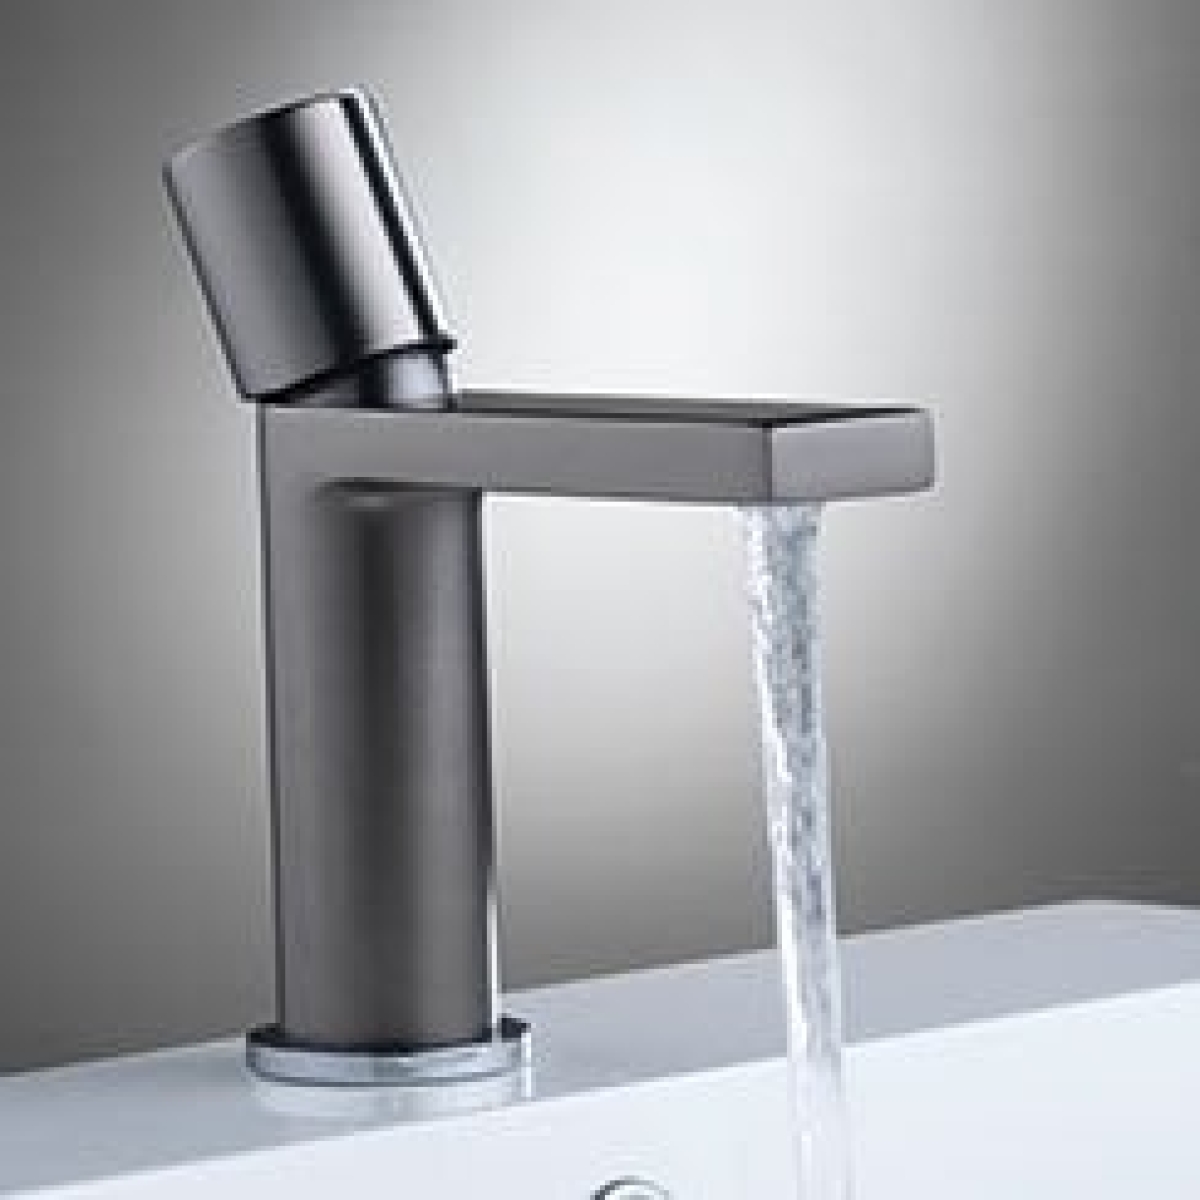
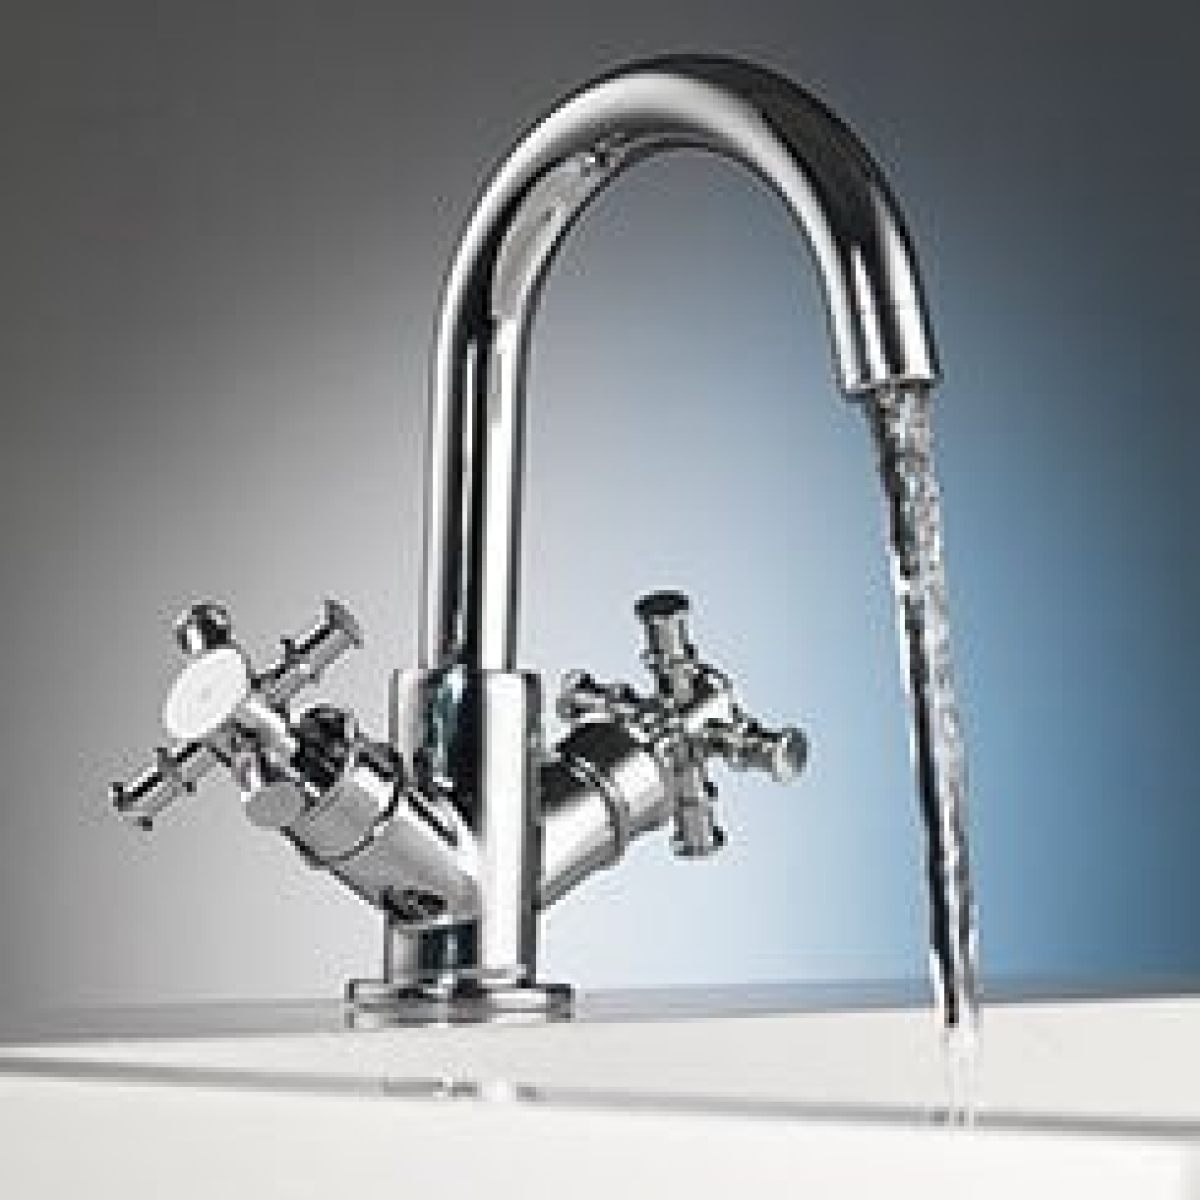
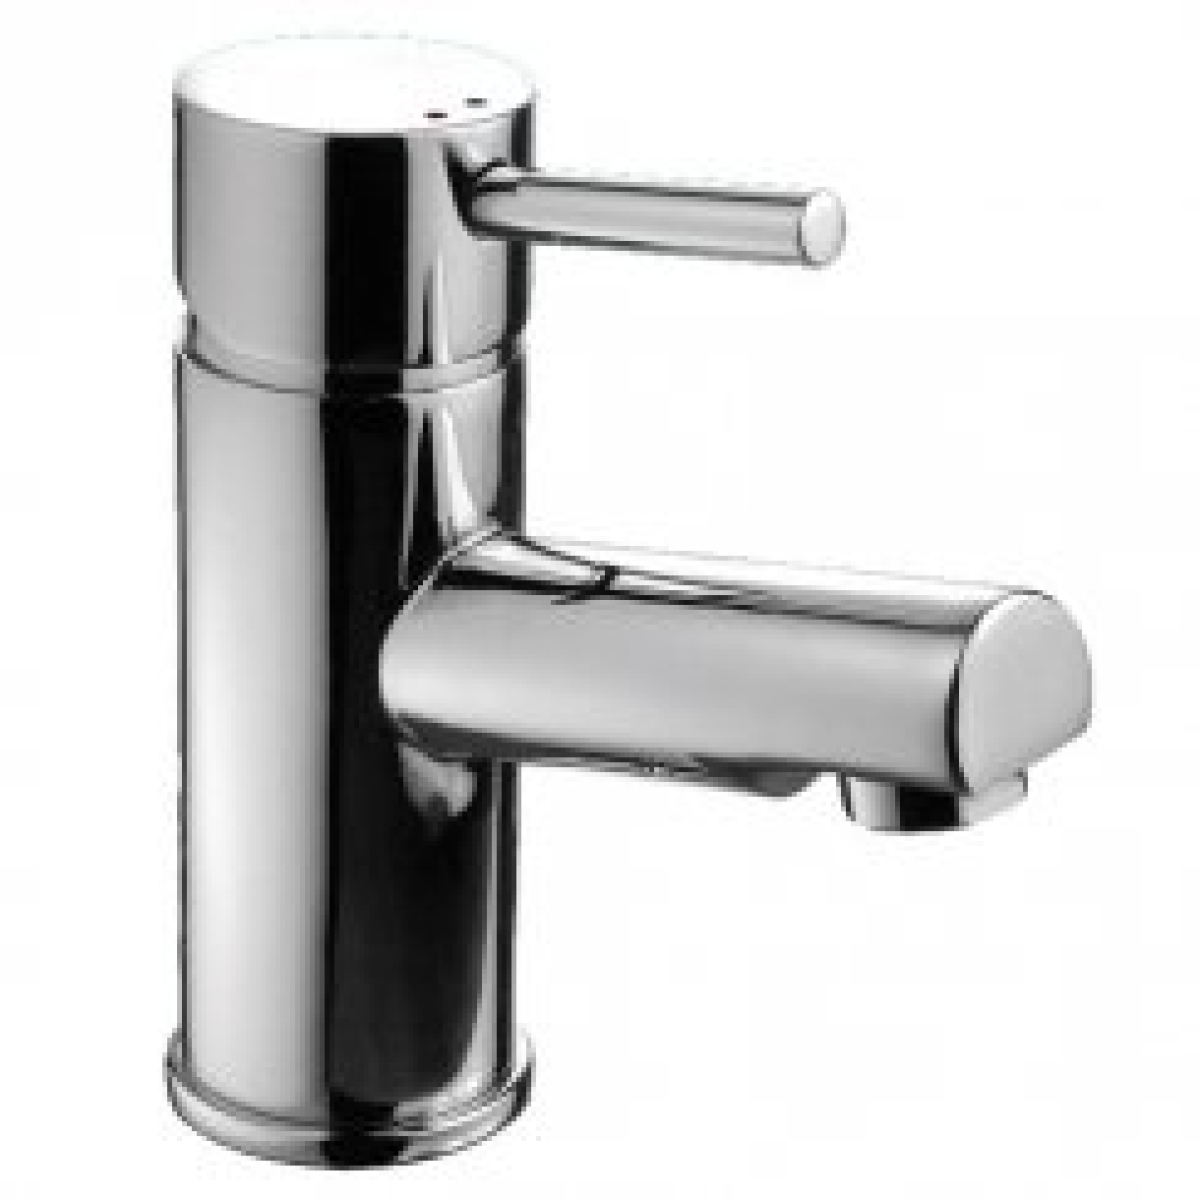
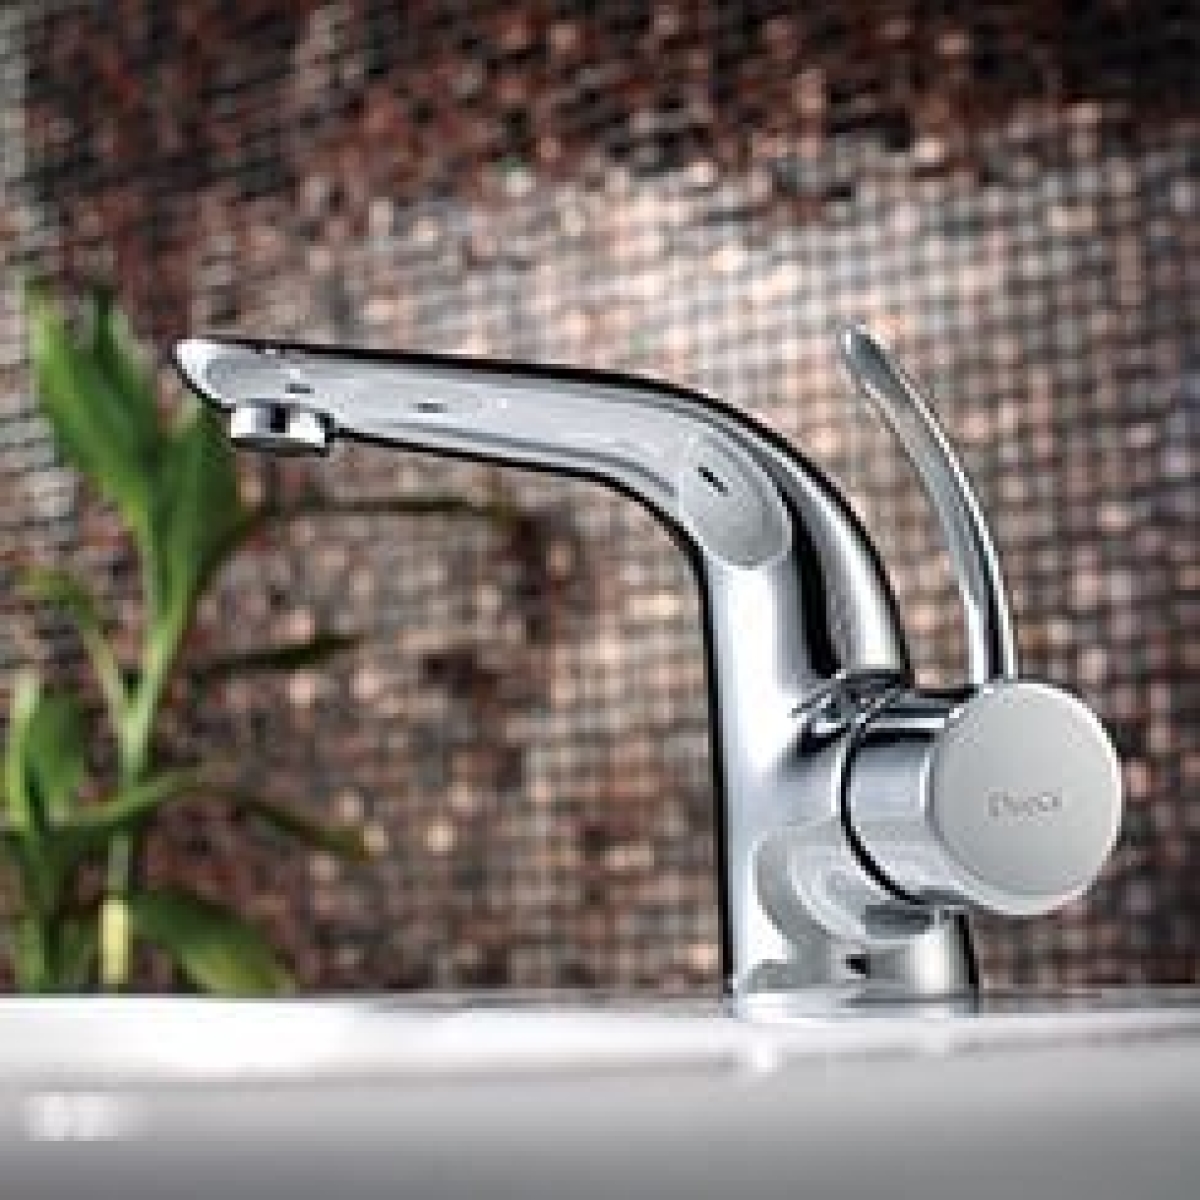
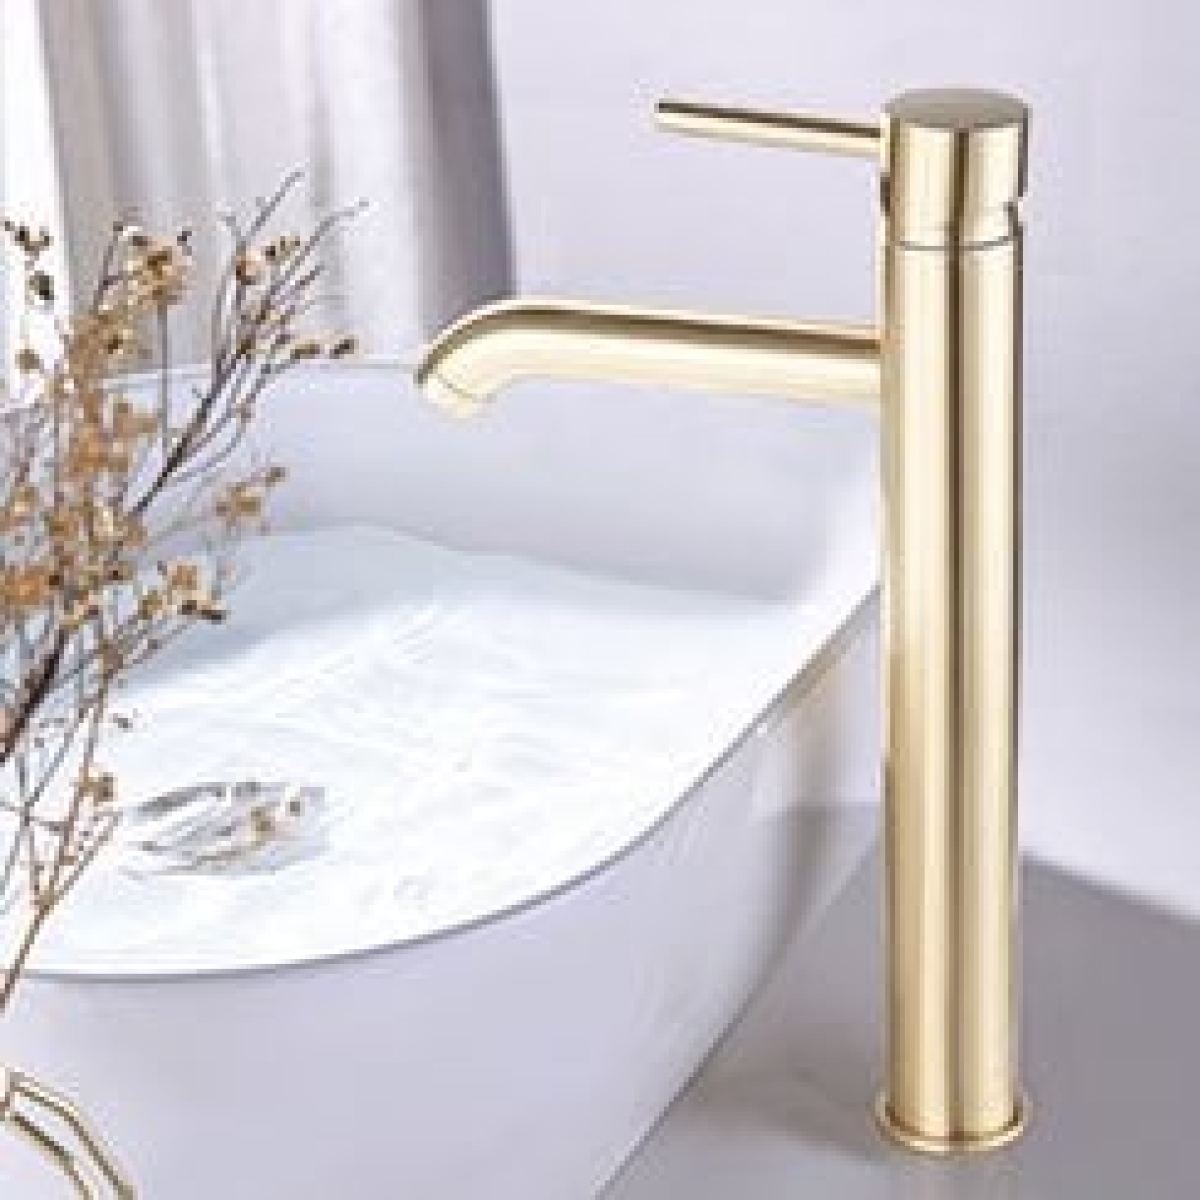
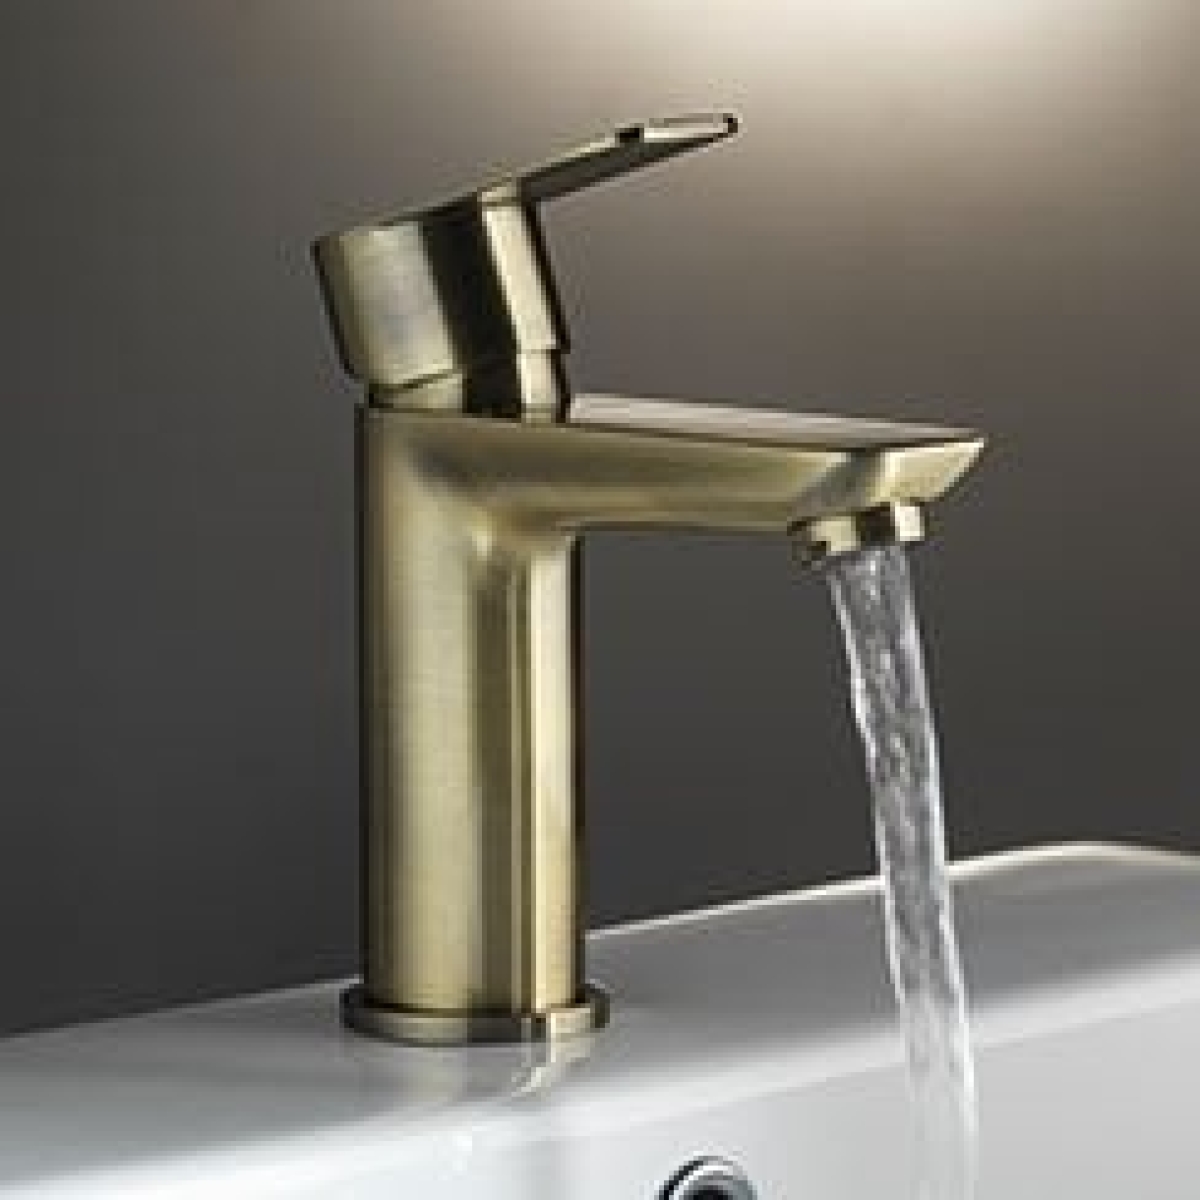
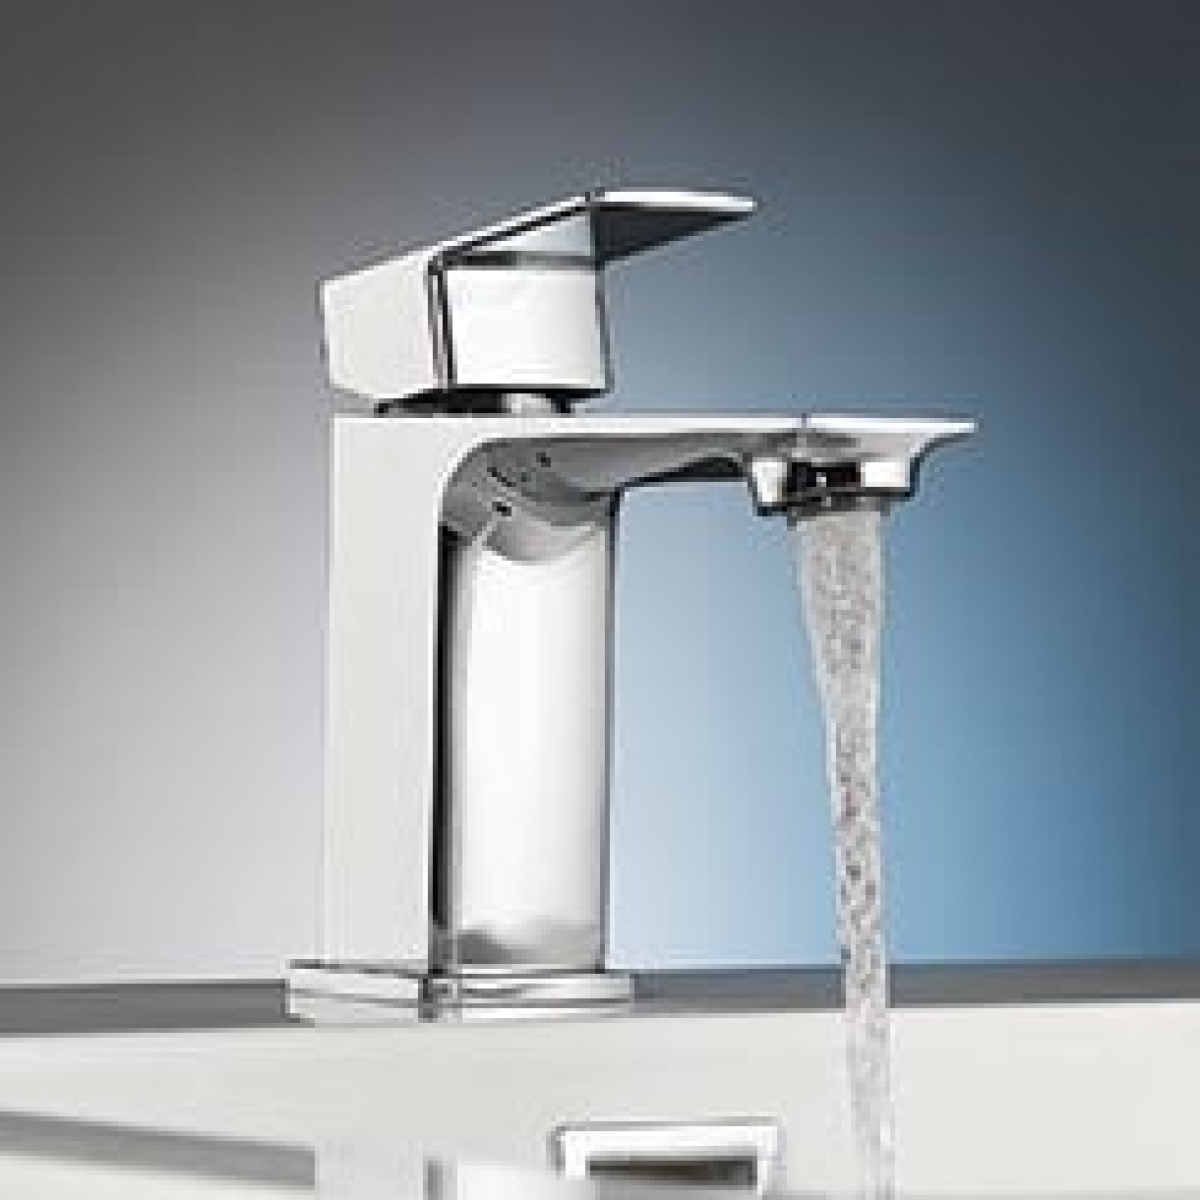
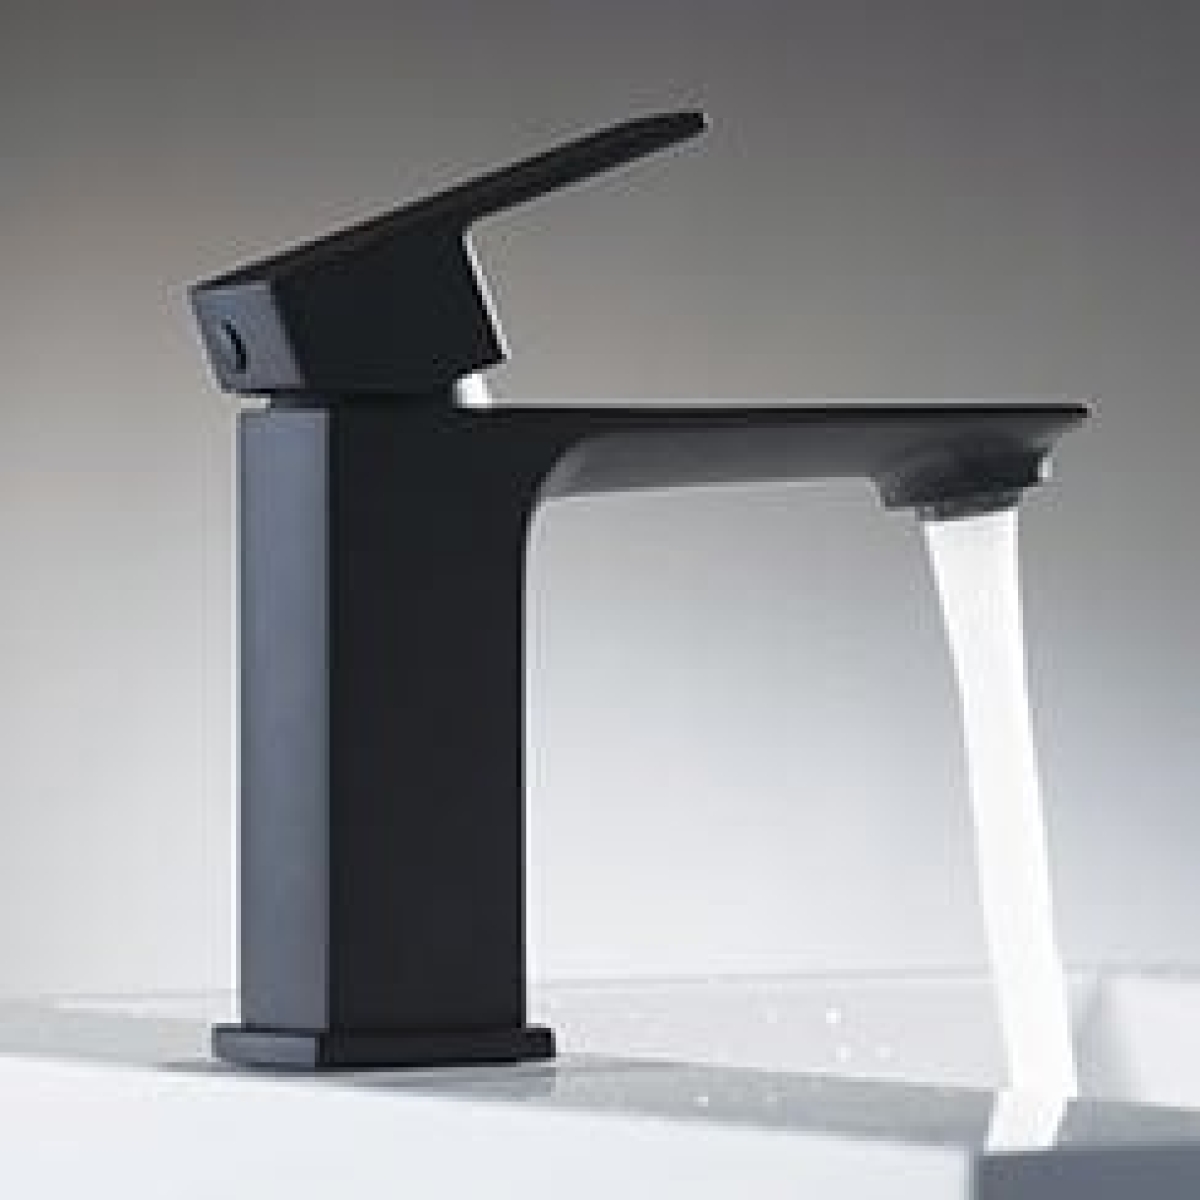
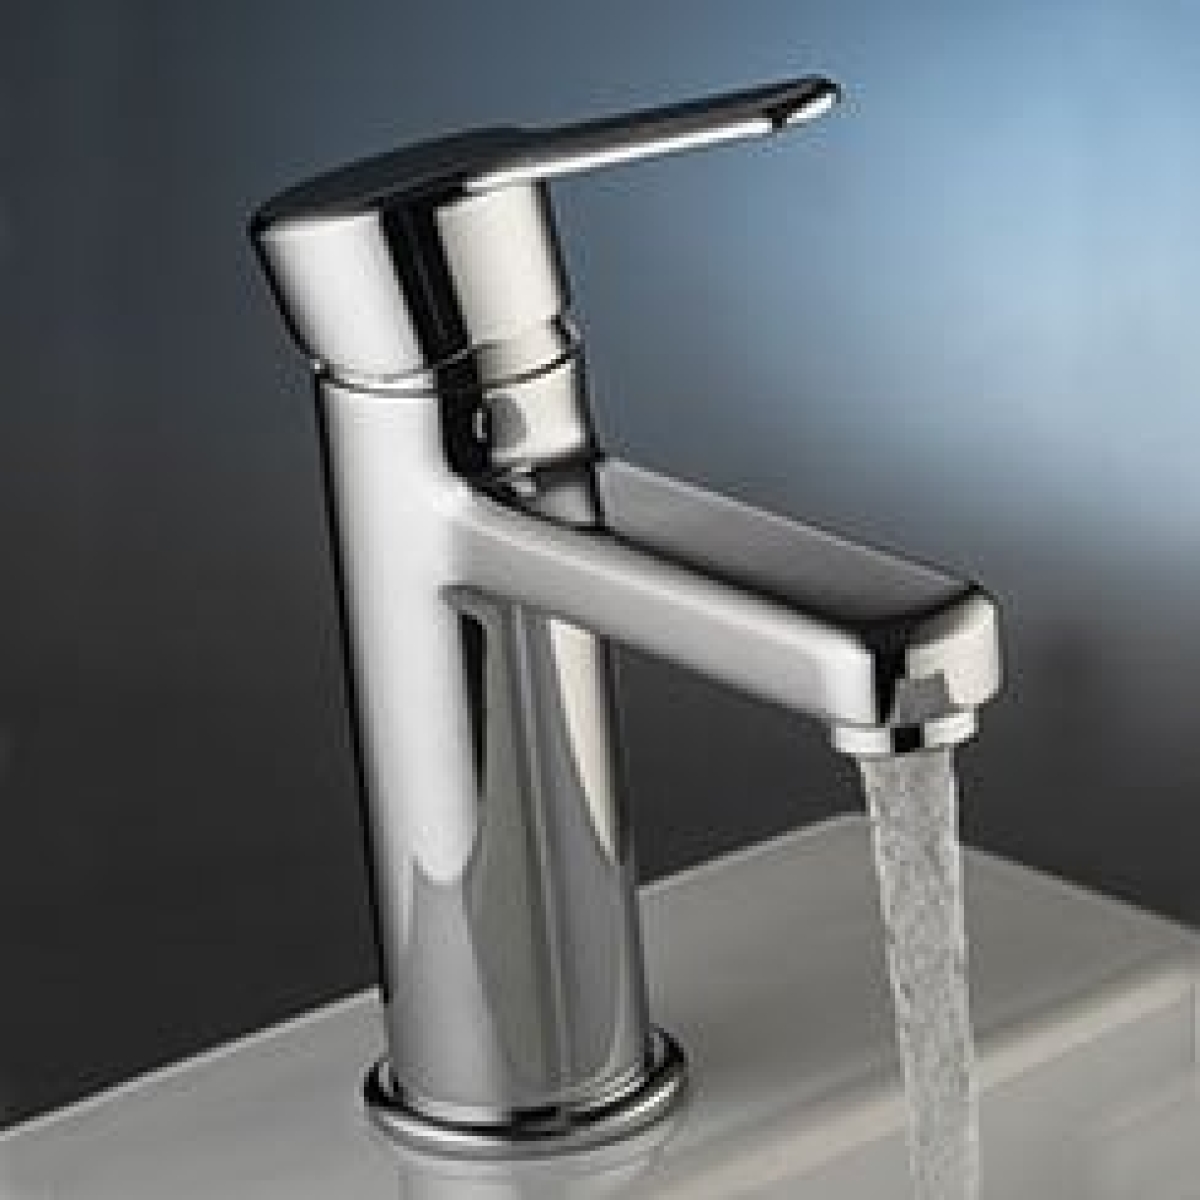
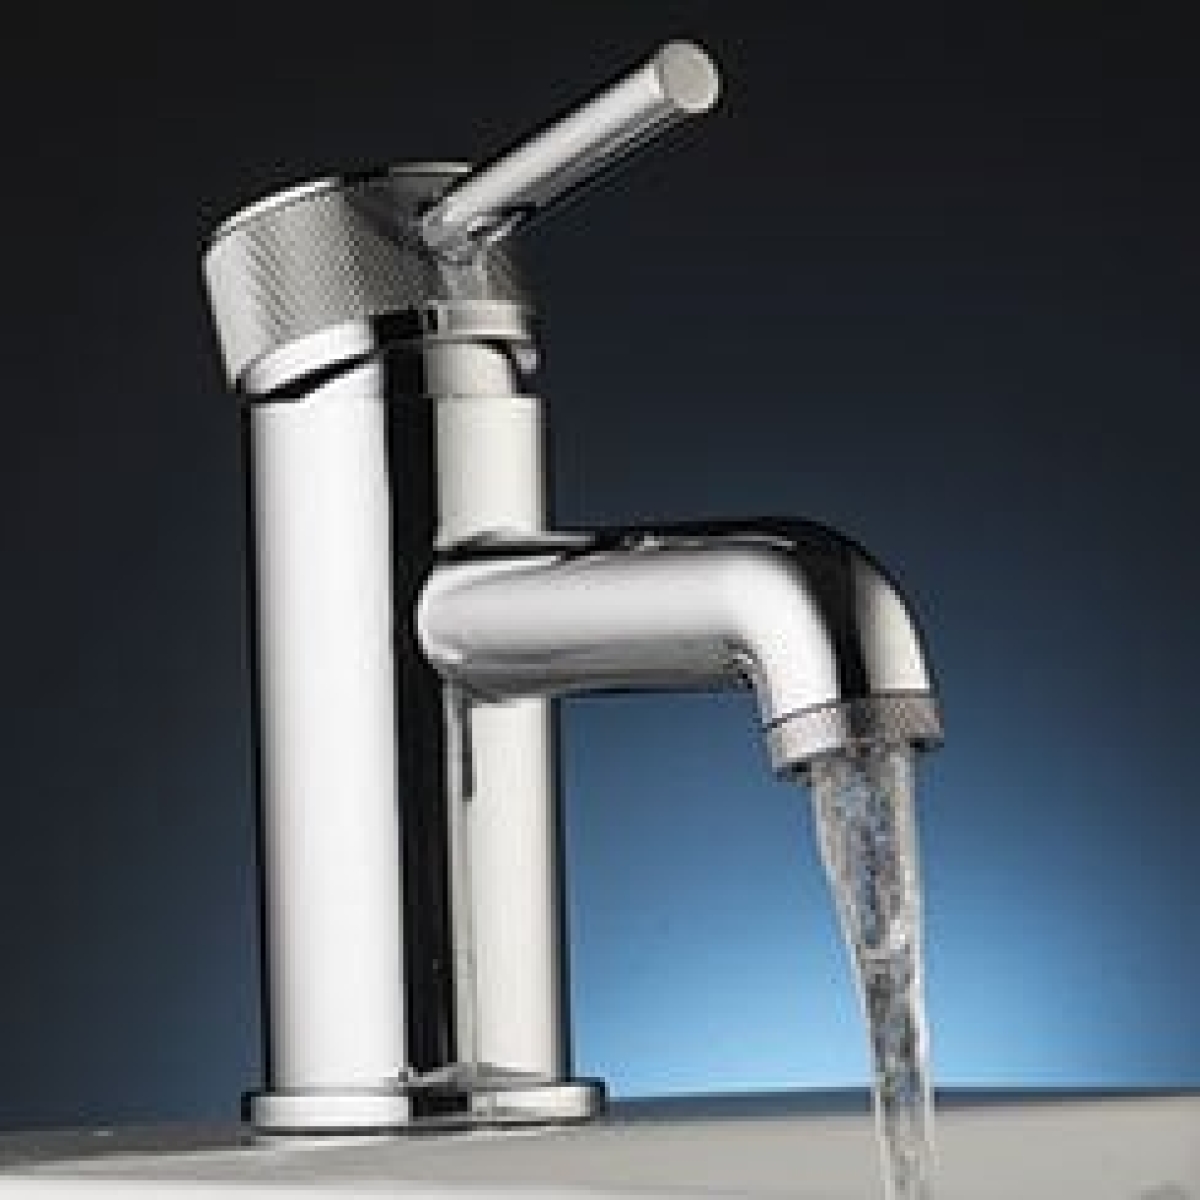
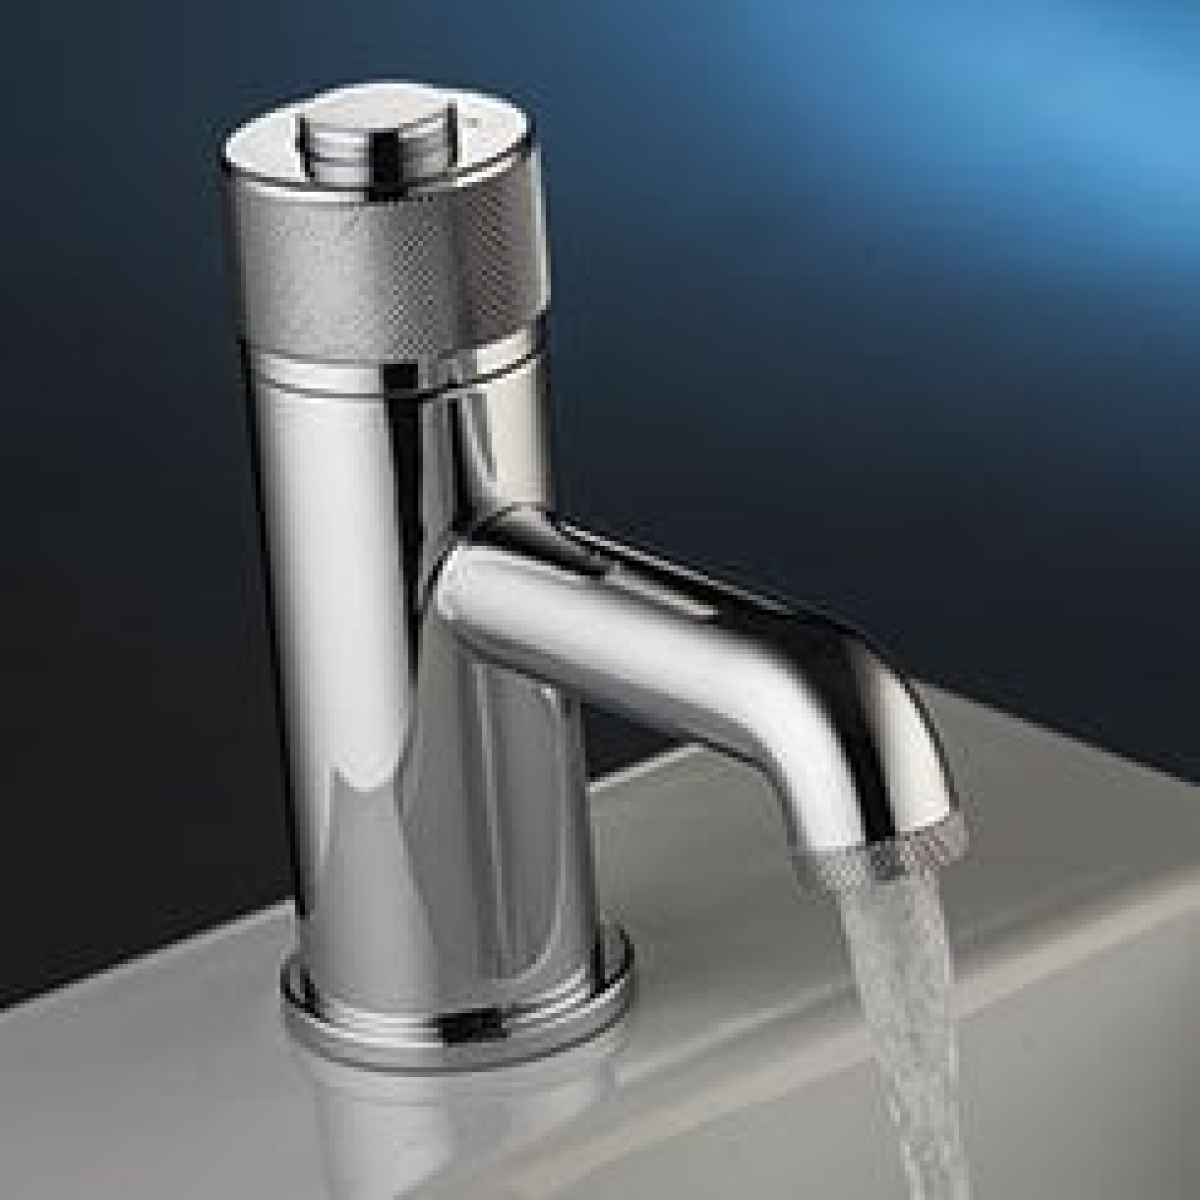
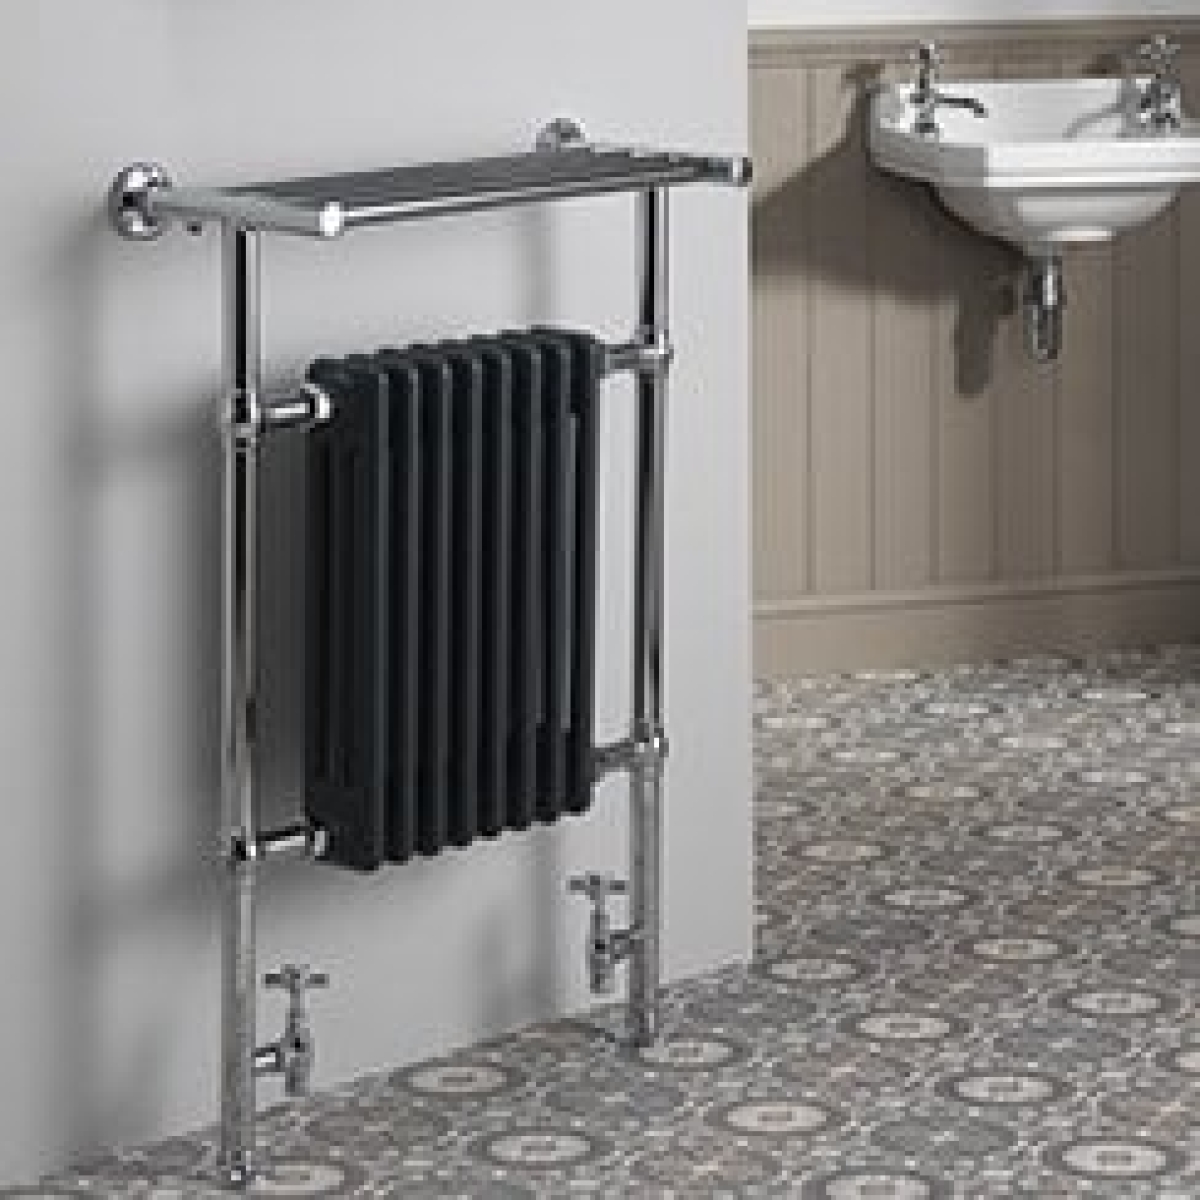
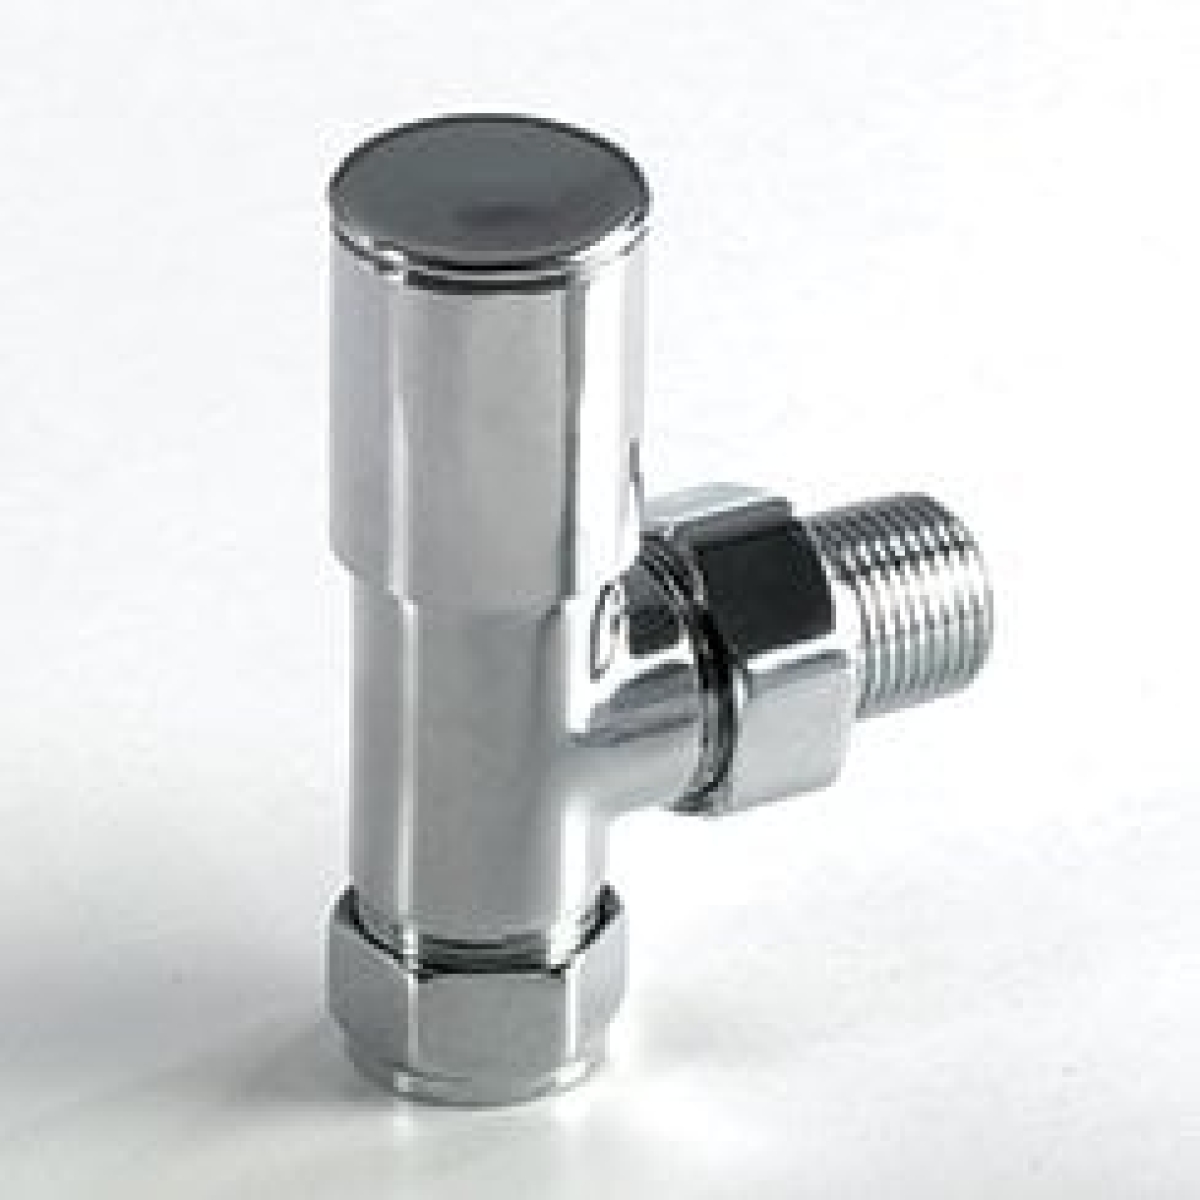
If you’re replacing valve units or piping, browse high-performance fixtures and accessories at Amazing Bathroom Supplies. Products from QX stand out for their quality and style.
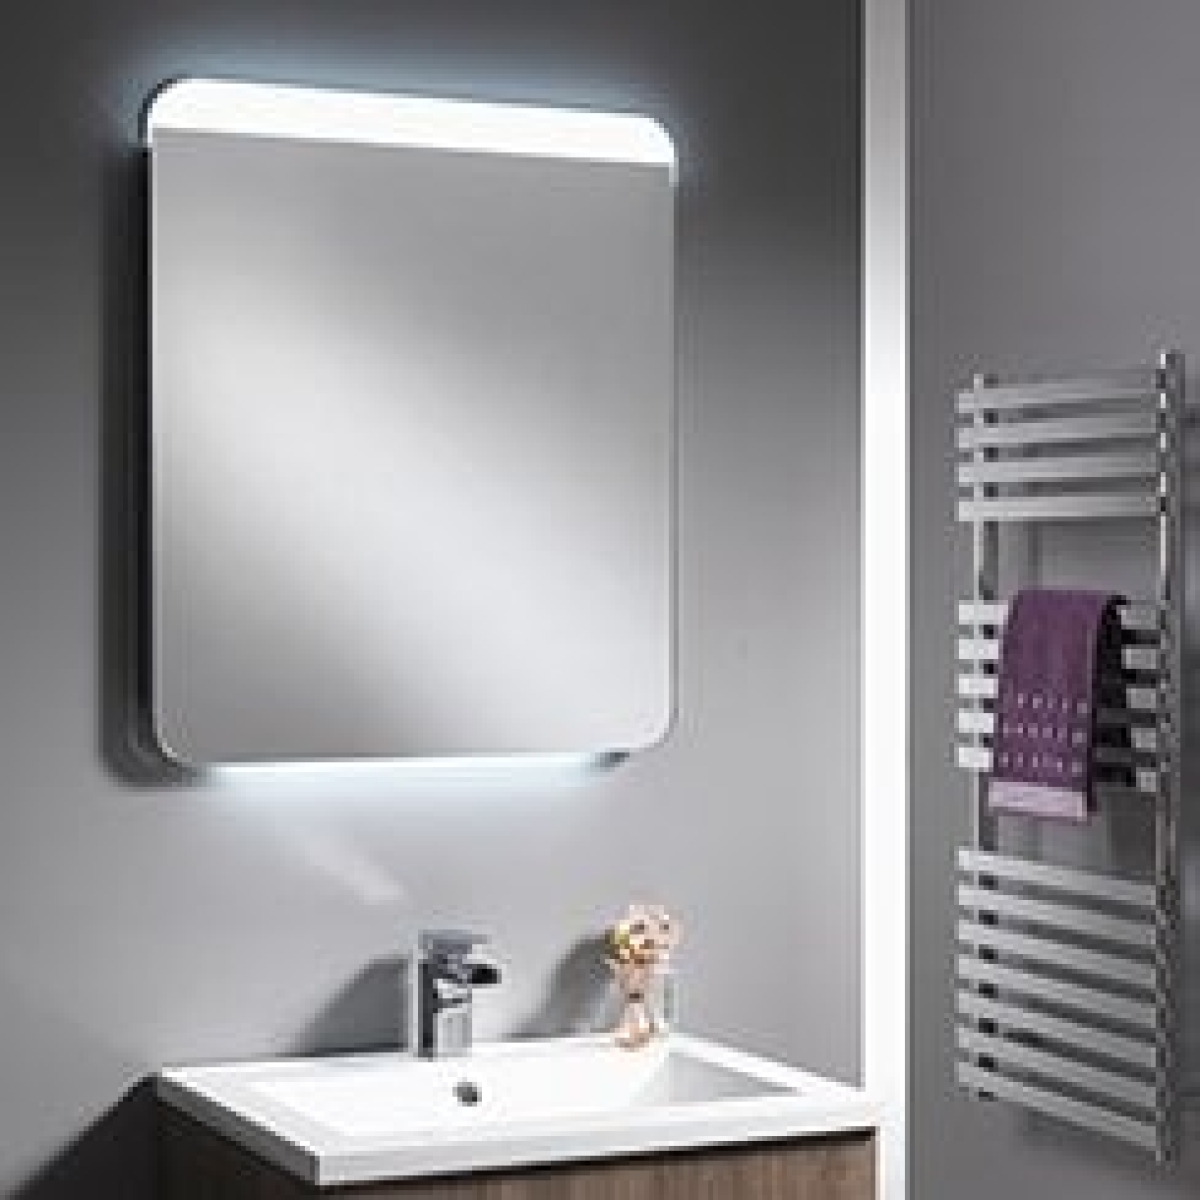
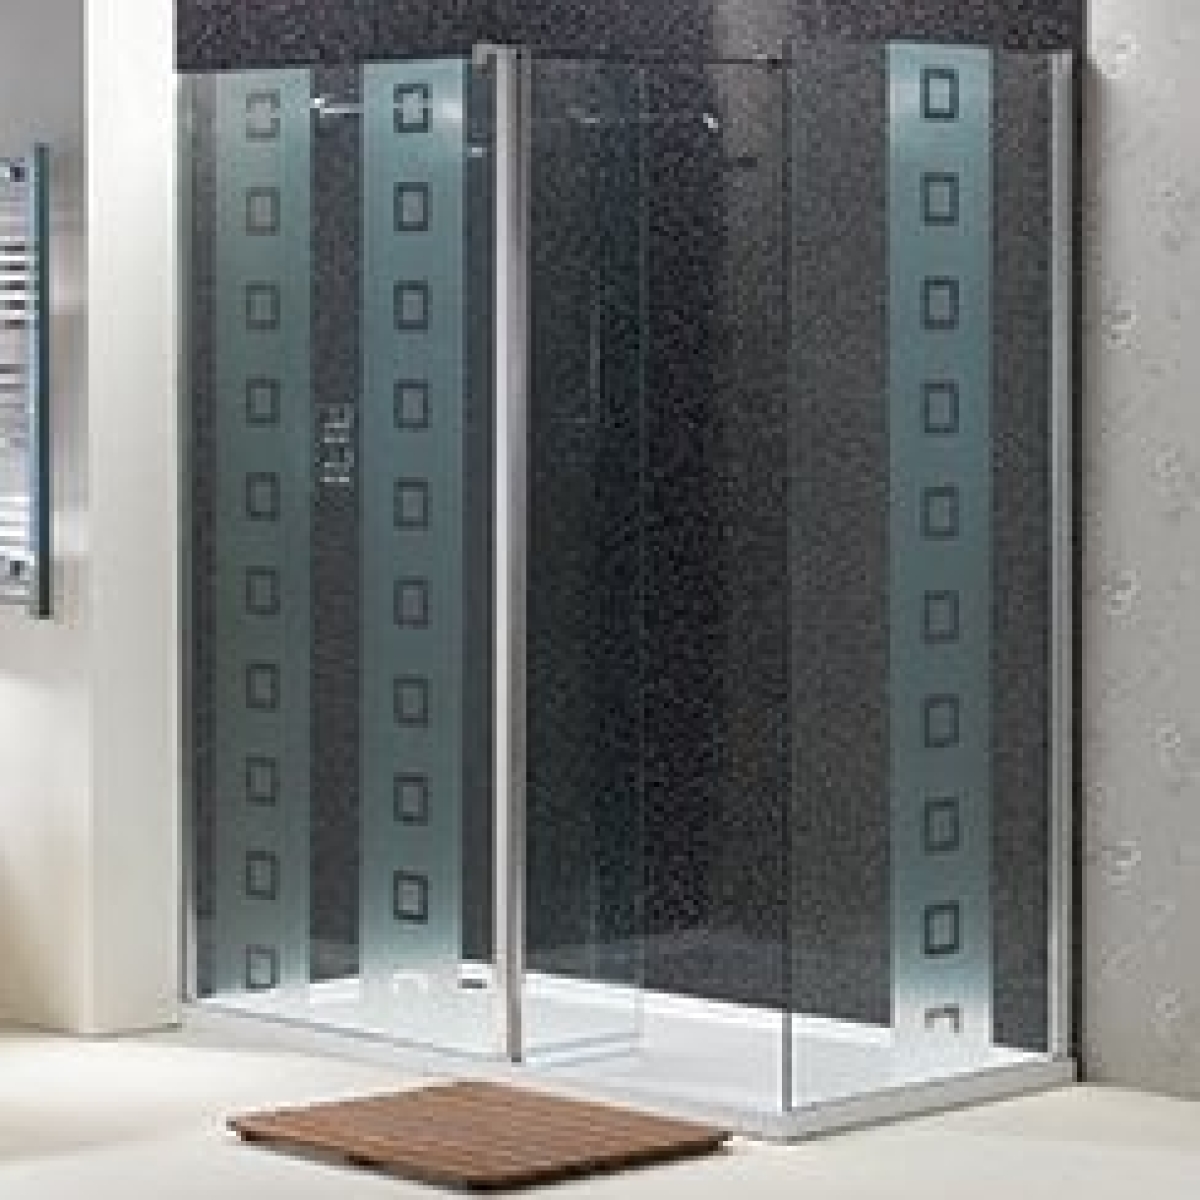
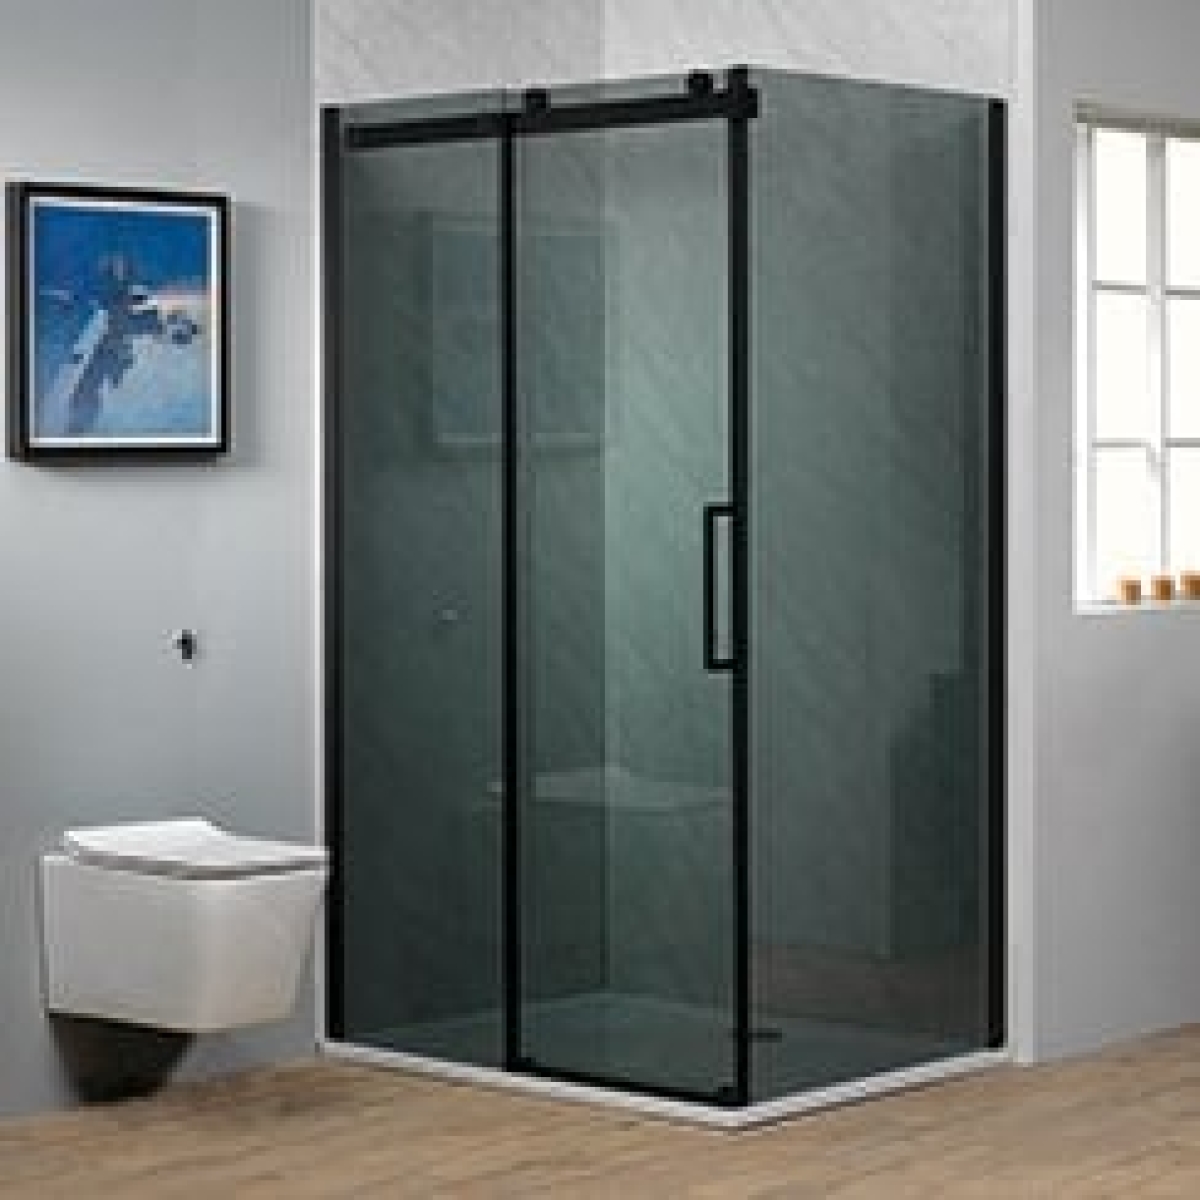
Step 4: Attach the Shower Panels or Tiles
Now it’s time to give your shower its finishing touch.
- Choose a Surface Option: Use panels for a modern, seamless look, or tiles for a more classic design.
- Fix Panels or Tiles Securely: Apply waterproof adhesive to the wall and press the panels or tiles firmly into place.
- Seal the Joints: For tiles, use grout to fill the spaces between them. Apply silicone sealant along the edges for a waterproof finish.
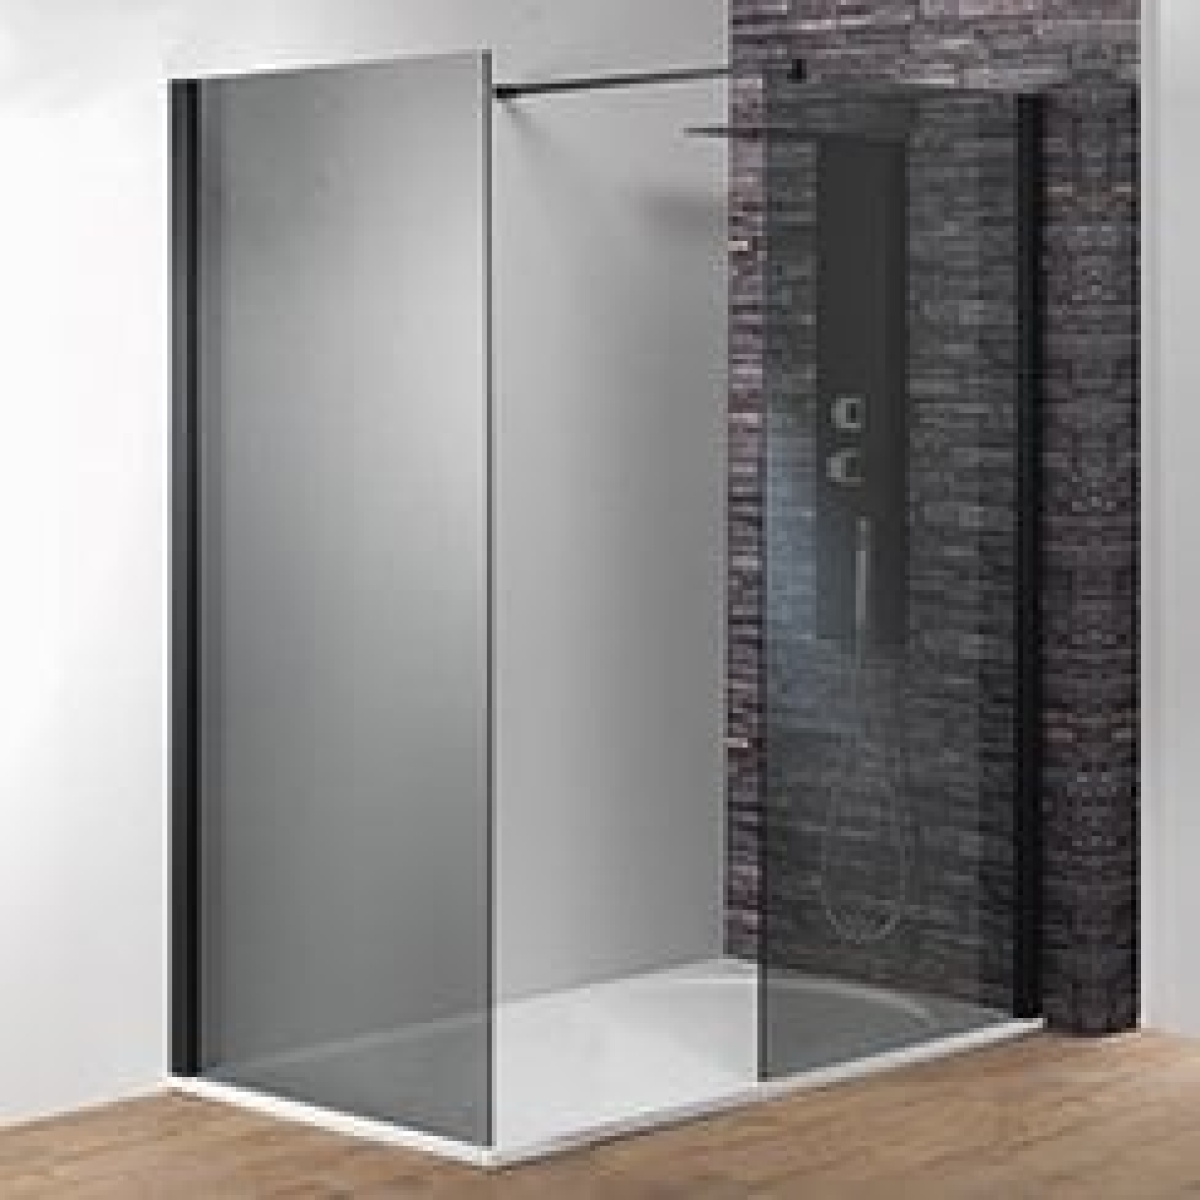
For panels, accessories, or tiling solutions, look through the wall options at Amazing Bathroom Supplies for ideas. You can also explore QX's extensive collection of panel designs.
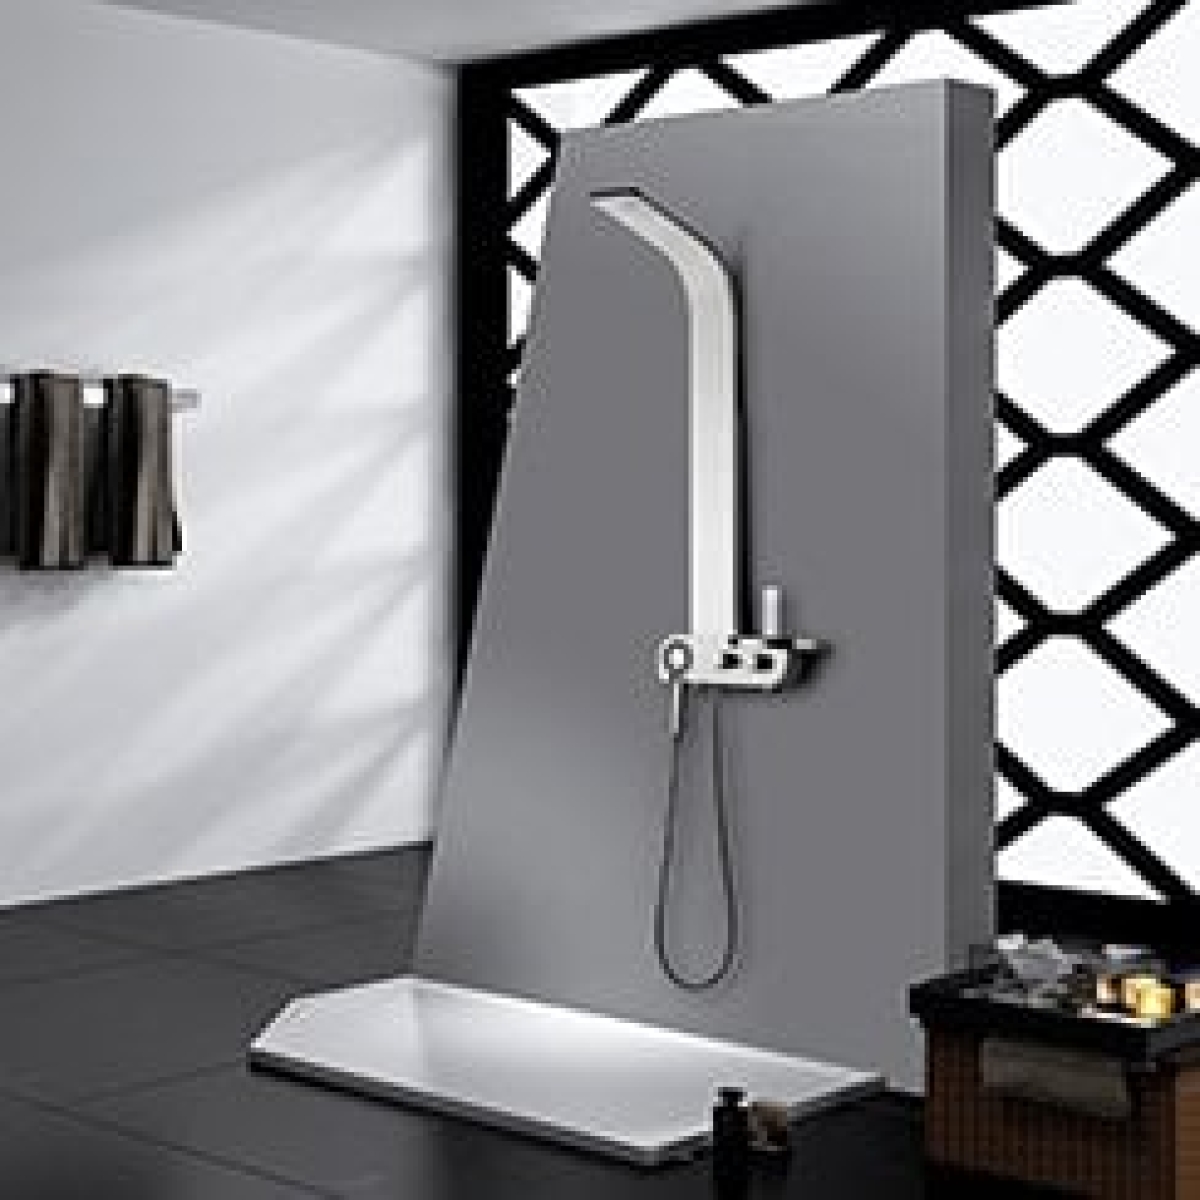
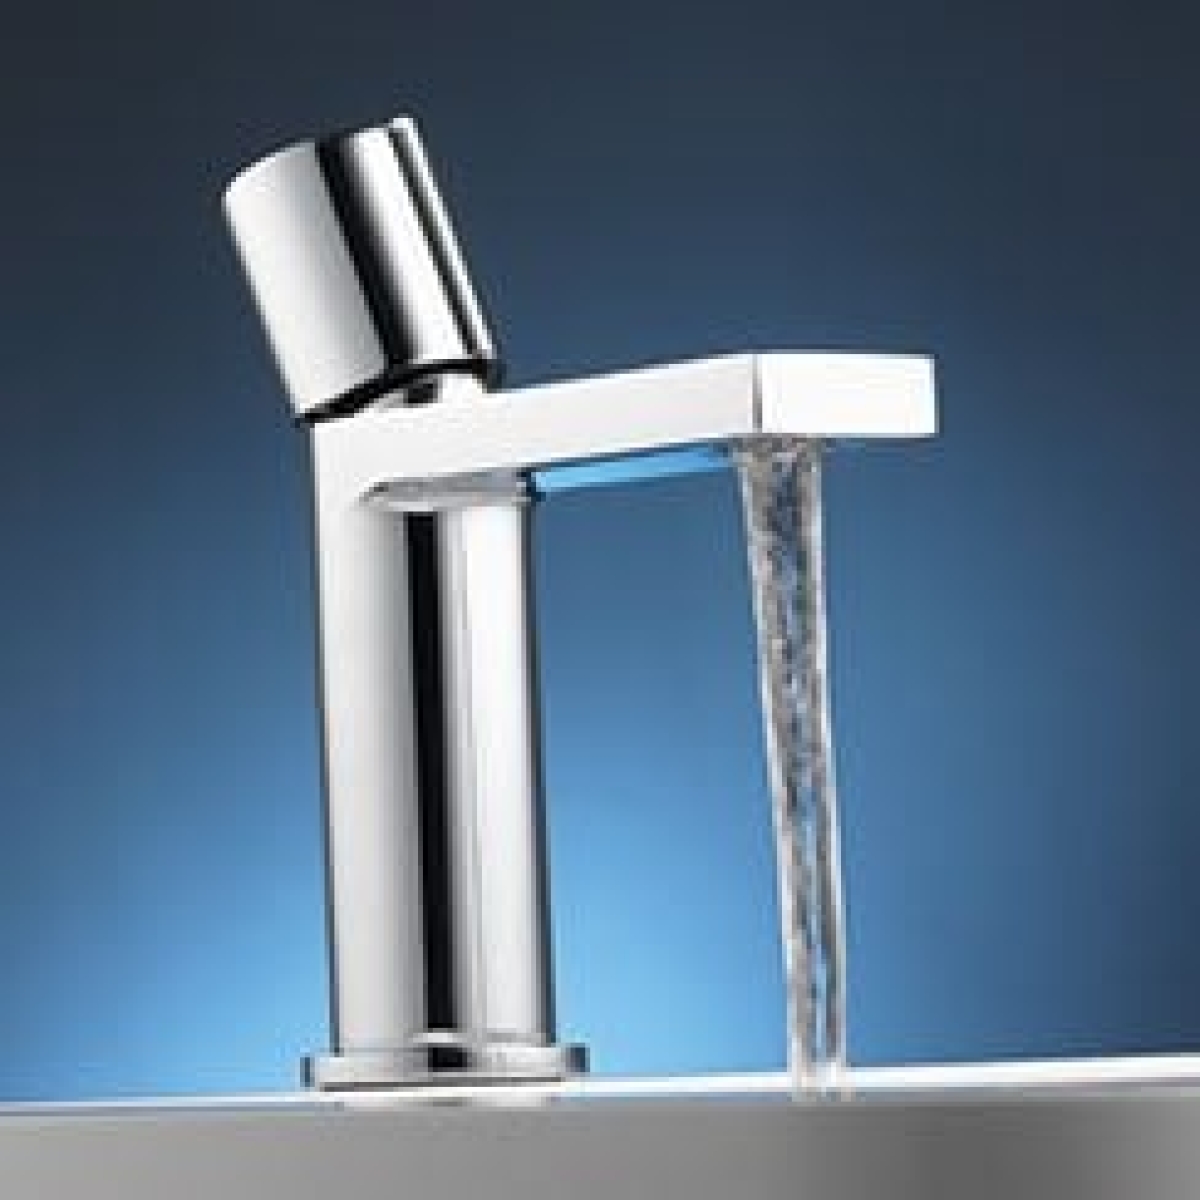
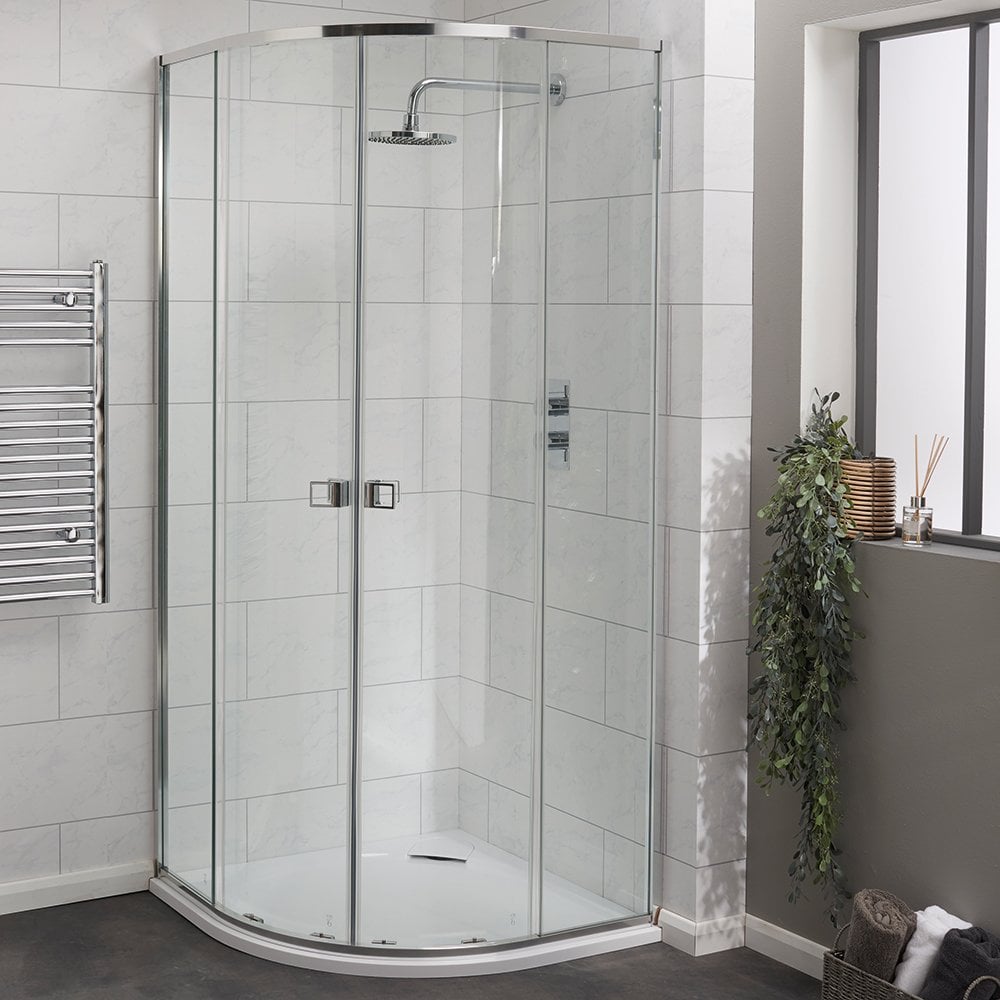
Step 5: Install the Shower Unit
With the groundwork done, it’s time for the main feature.
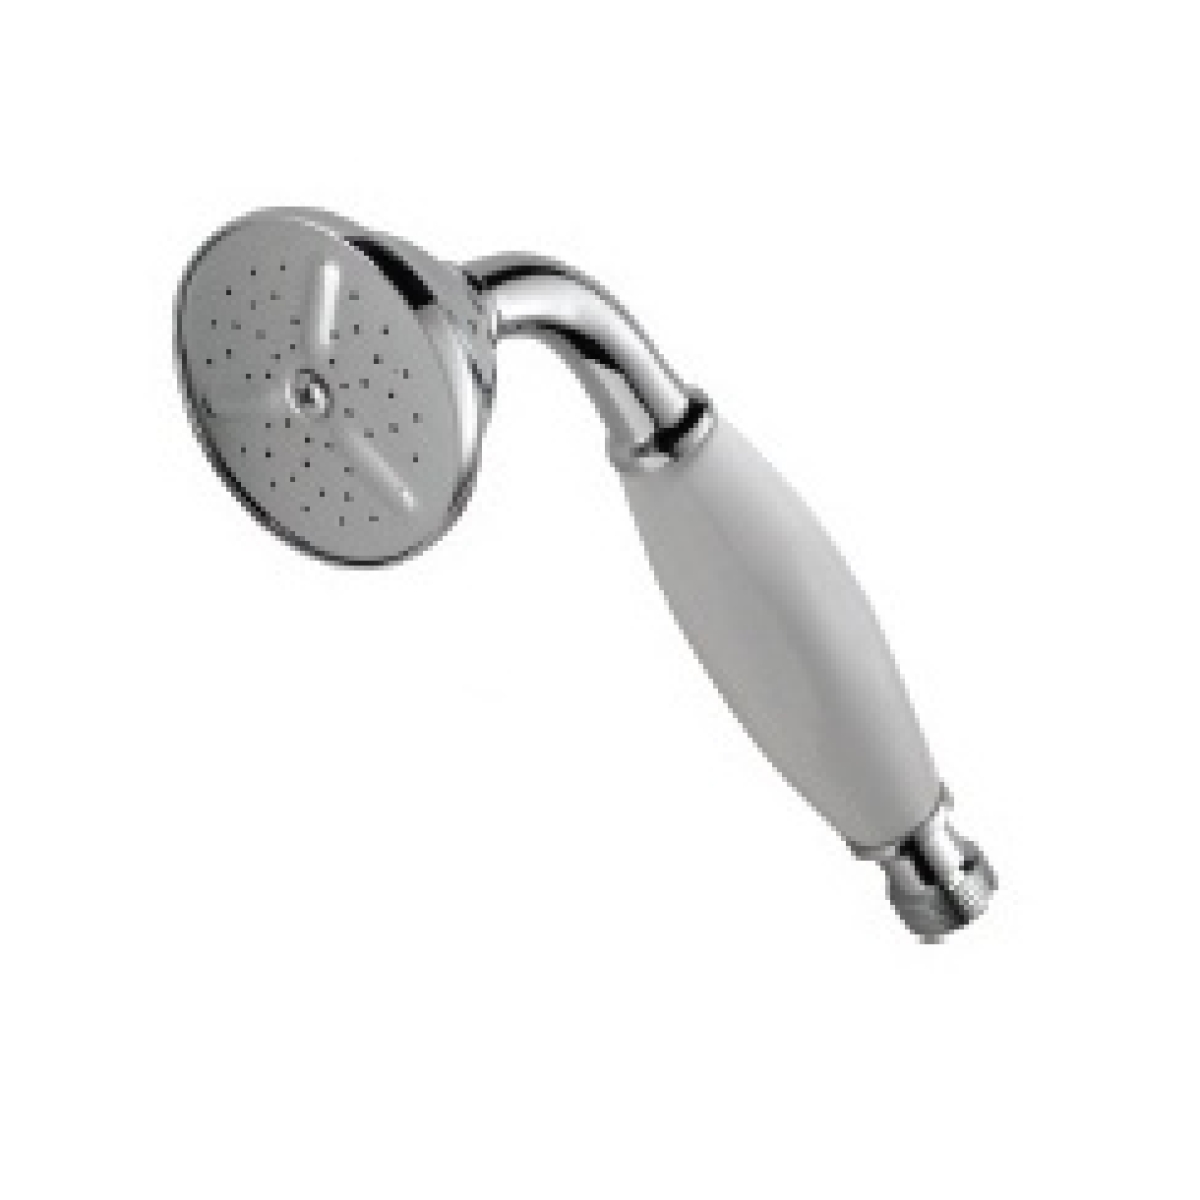
- Fix the Shower Head and Controls: Attach the showerhead and connect the hose. For wall-mounted options, drill pilot holes before securing them with screws.
- Connect the Water Supply: Attach the water pipes to the shower unit using a wrench to ensure secure fittings.
- Test for Leaks: Turn on the mains water supply and check all connections for leaks. Tighten any loose fittings as needed.
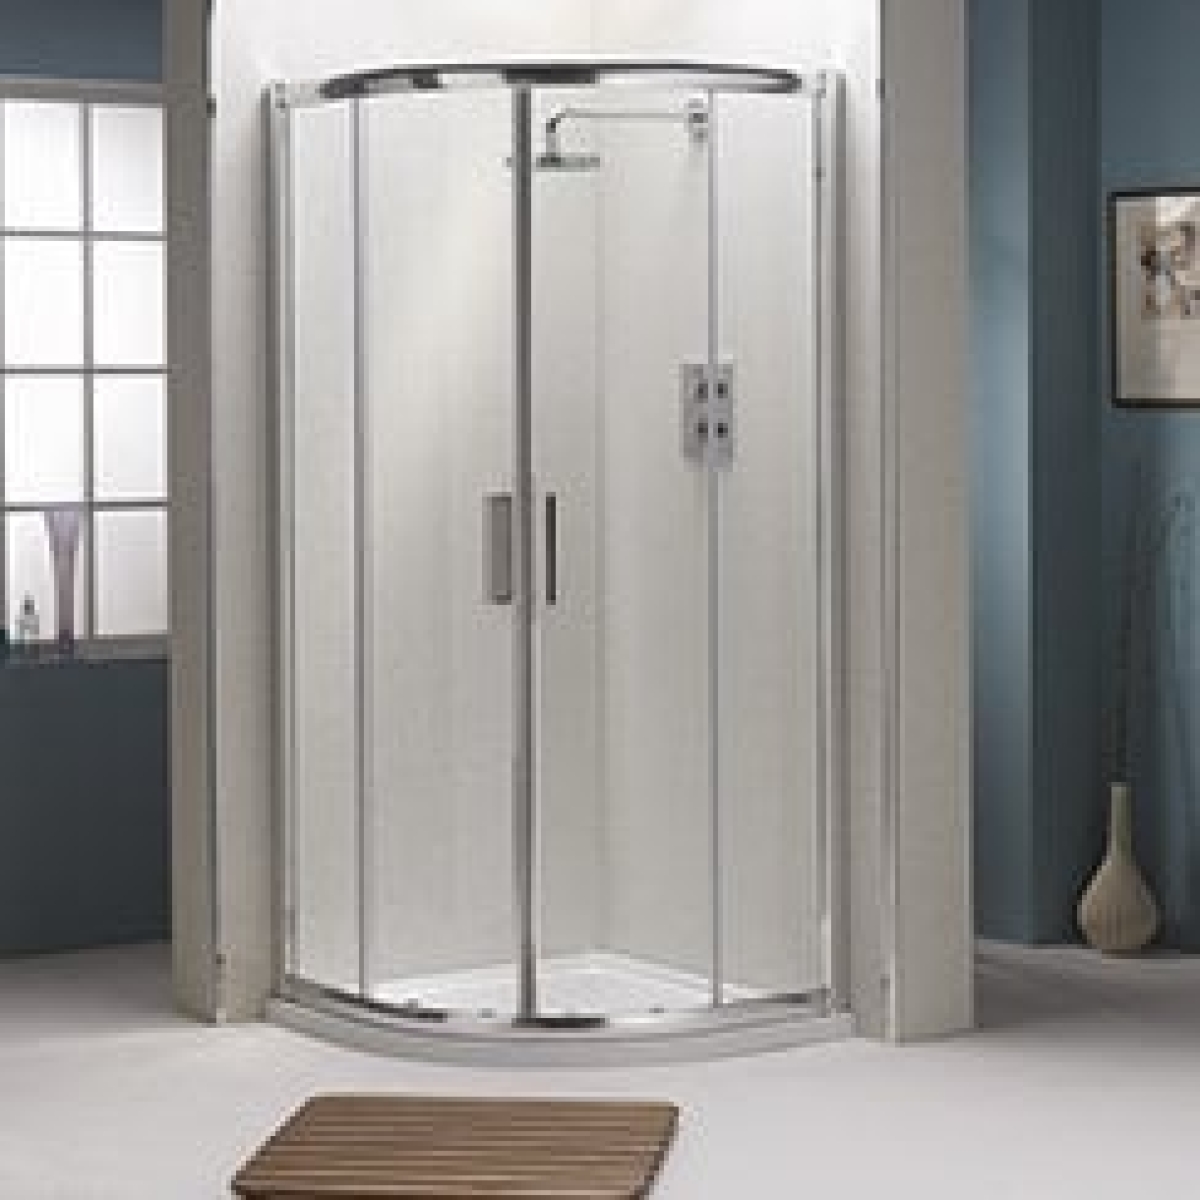
Explore a stunning range of modern and functional fixtures in the showering category at Amazing Bathroom Supplies, including products from trusted supplier QX.
Step 6: Final Checks
Before wrapping up, take a final pass at your work.
- Check Functionality: Run the shower to ensure smooth operation of the controls, consistent water pressure, and proper drainage.
- Inspect Sealing: Confirm there are no leaks around the joints, seals, or tray.
- Clean the Area: Wipe down all surfaces and clean any excess adhesive or sealant.
Closing Thoughts
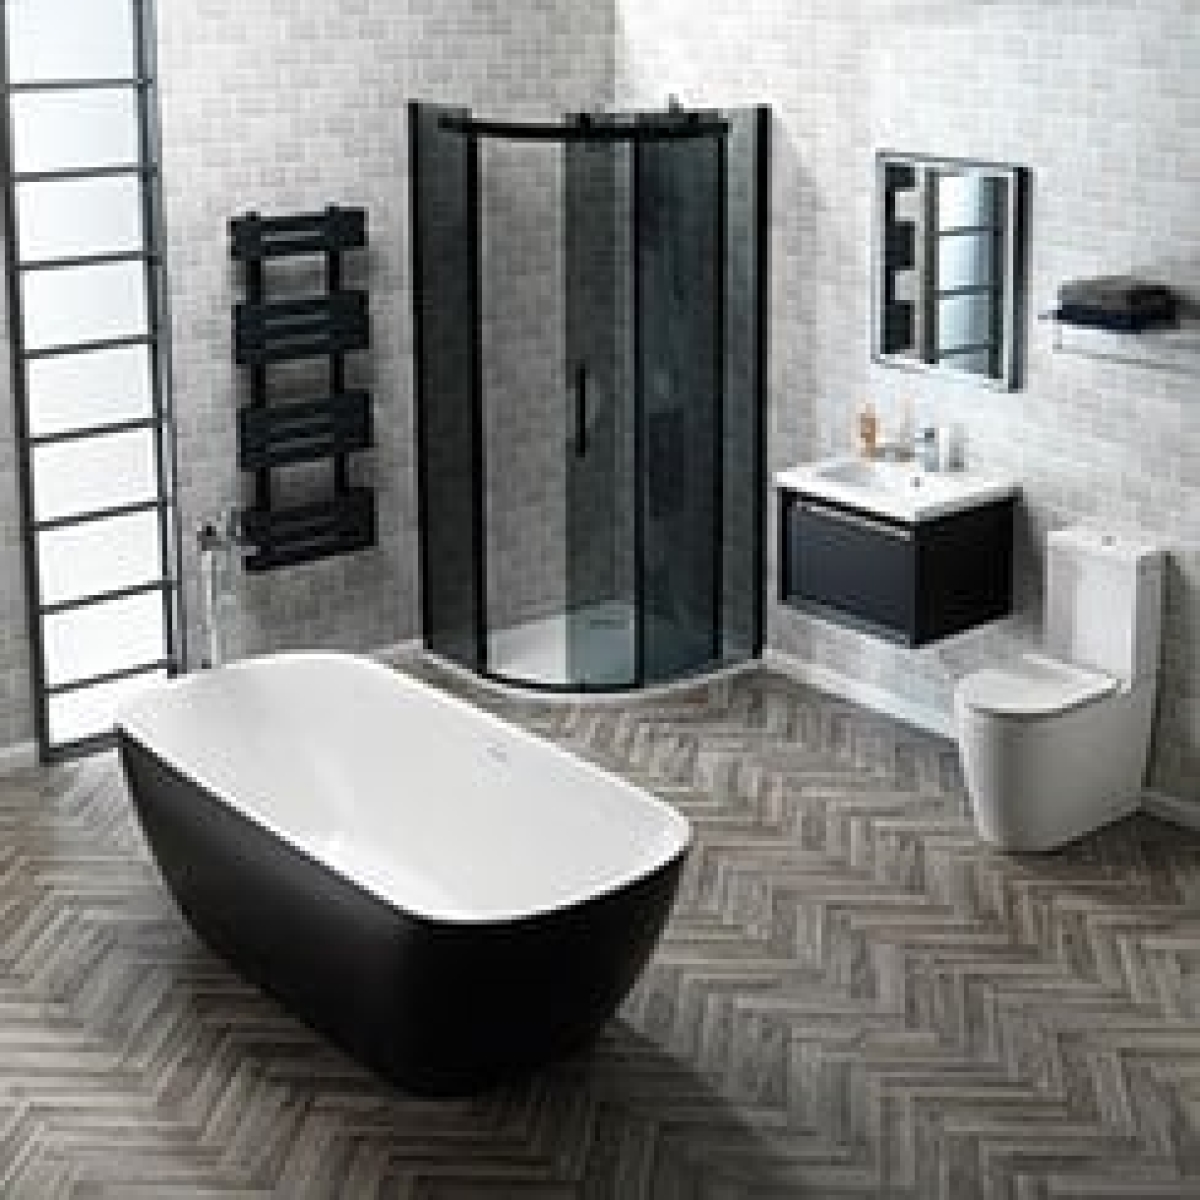
Installing a new shower is a step-by-step process that can be both rewarding and cost-effective. Whether you’re upgrading for style, function, or both, the key lies in careful preparation and high-quality materials. By using trusted products from Amazing Bathroom Supplies and QX, you can ensure a professional-grade finish that lasts.
If you're ready to start your project, explore the extensive range of shower units, trays, and accessories to find the perfect options for your bathroom transformation. Get started today and bring your dream shower to life!